Your basket is currently empty!
The Secret Sauce: Installing the IAC Driver
So my apologies but before we get on to running tracks using a DAW, we must first activate a tool that’s going to unlock your DAW’s true potential. Allow me to introduce you to the IAC Driver.
Simply put, the IAC Driver has the ability to receive MIDI from a source and send it back to said source to automate a particular function. Imagine we’re in a band that has an upcoming show. We’ve got all of our songs on a timeline in a DAW and at the end of each track we need them to stop automatically so the playhead doesn’t continue and start playing the next song. Now, we could just have someone press stop or, we could automate a function that does it for us (and eliminates human error). We would accomplish this using the IAC Driver, so we’ll explain how to install it and then how to create our automated stop function. So let’s begin.
Installing the IAC Driver
Open Audio MIDI Setup. In launchpad you can locate or search for ‘Audio MIDI Setup’.
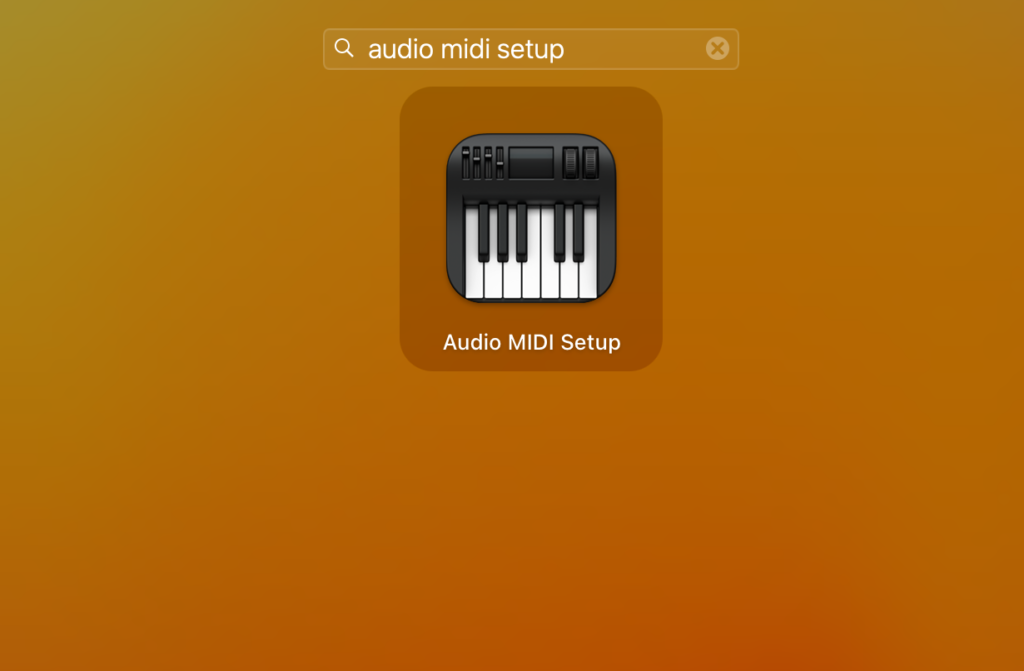
Or you can use spotlight search

When the Audio MIDI Setup loads up, in the menu bar go to Window >> Show MIDI Studio
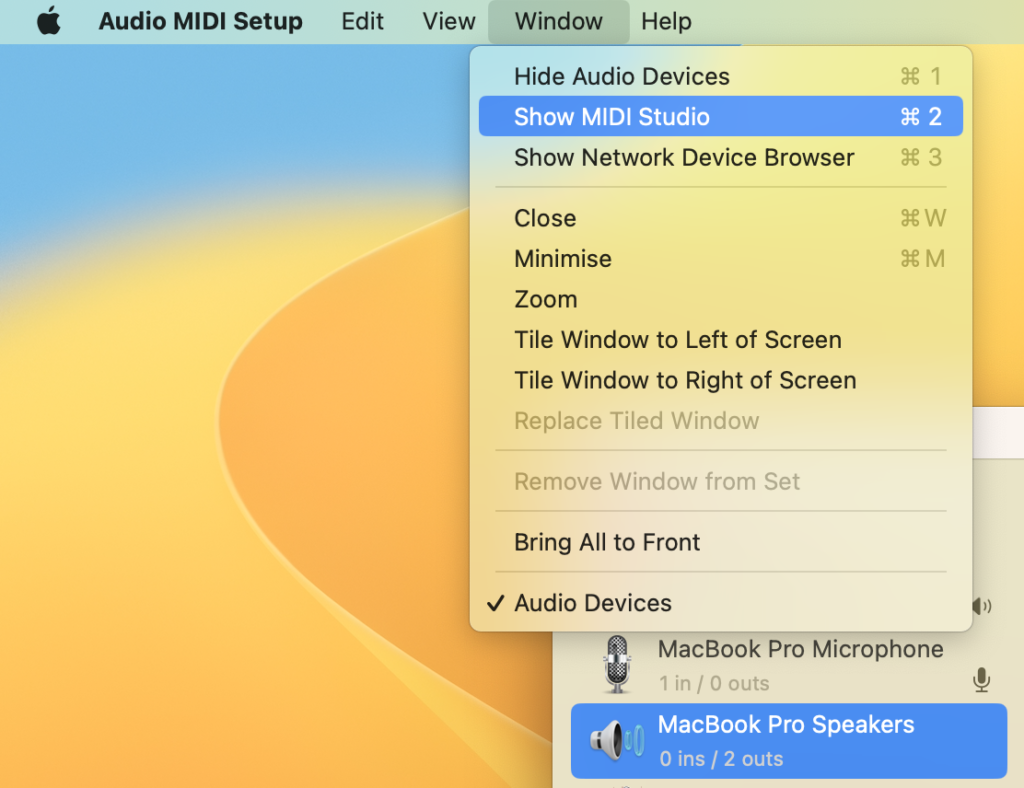
This will show the MIDI Studio, a hub for all of your MIDI Devices. In there you should see the IAC Driver.
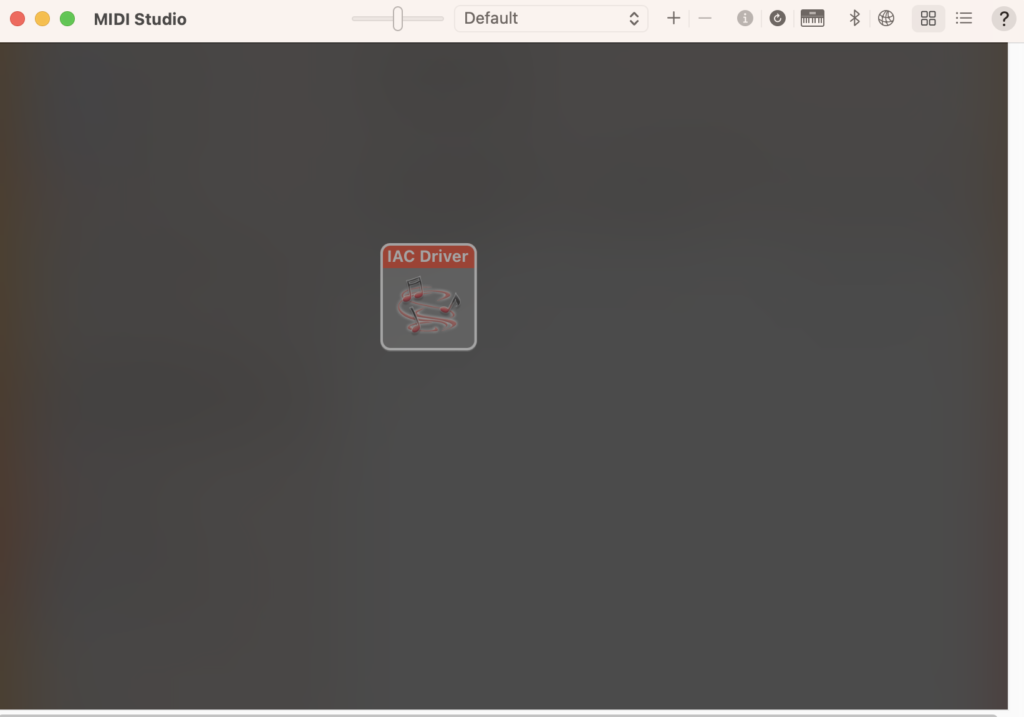
Double Click IAC Driver to open ‘IAC Driver Properties’.
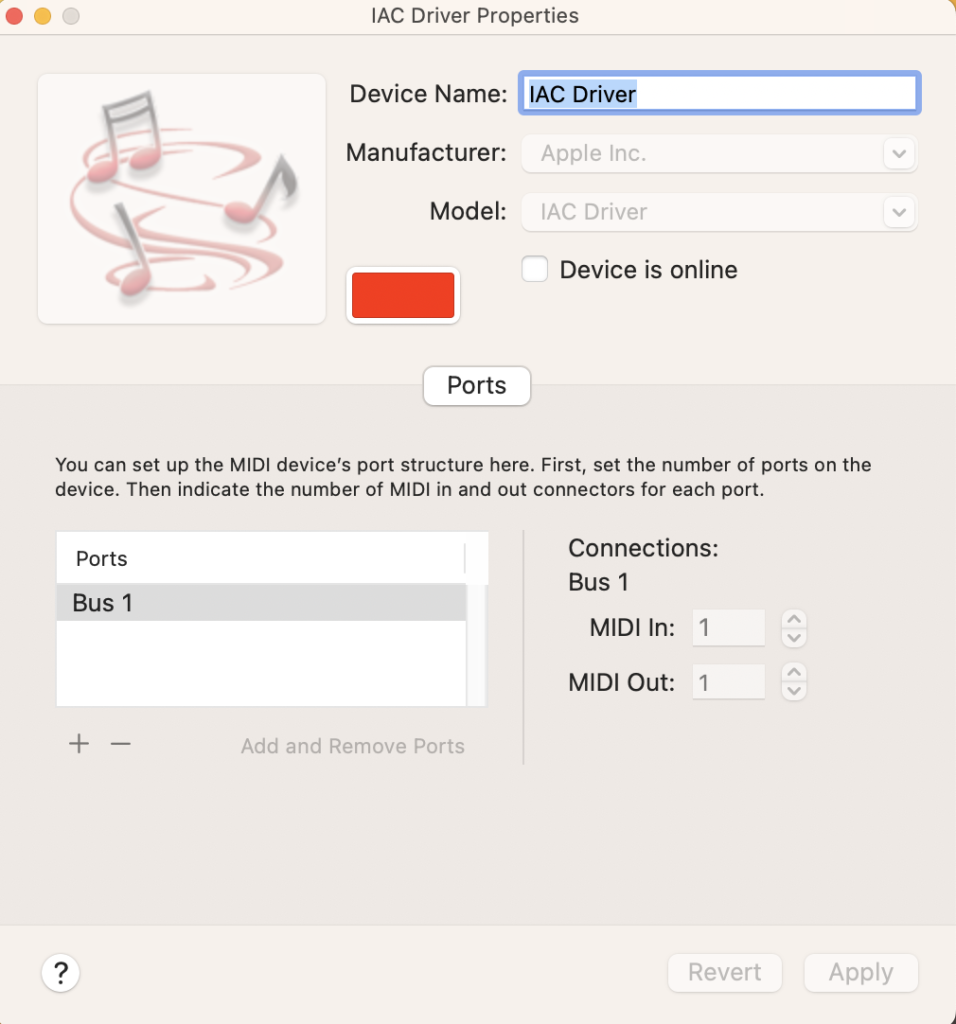
You can rename the device to whatever you want but for this demonstration I’ve left it as ‘IAC Driver’. Make sure the option ‘Device is online’ is checked.
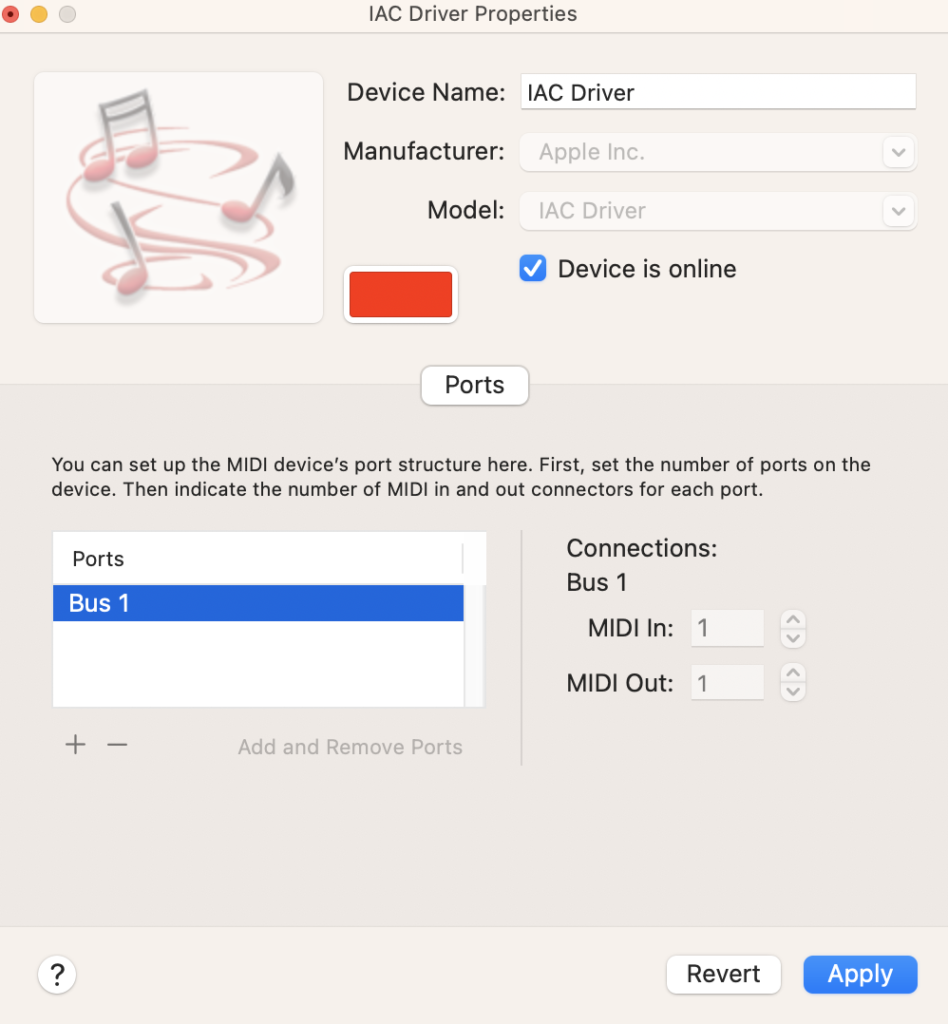
Click ‘Apply’ and that’s it! You’re done!
Using the IAC Driver in Logic Pro X
Let’s give a quick demonstration, so you can test it out for yourself. We’ll be using Logic Pro X, so let’s begin by opening a file.
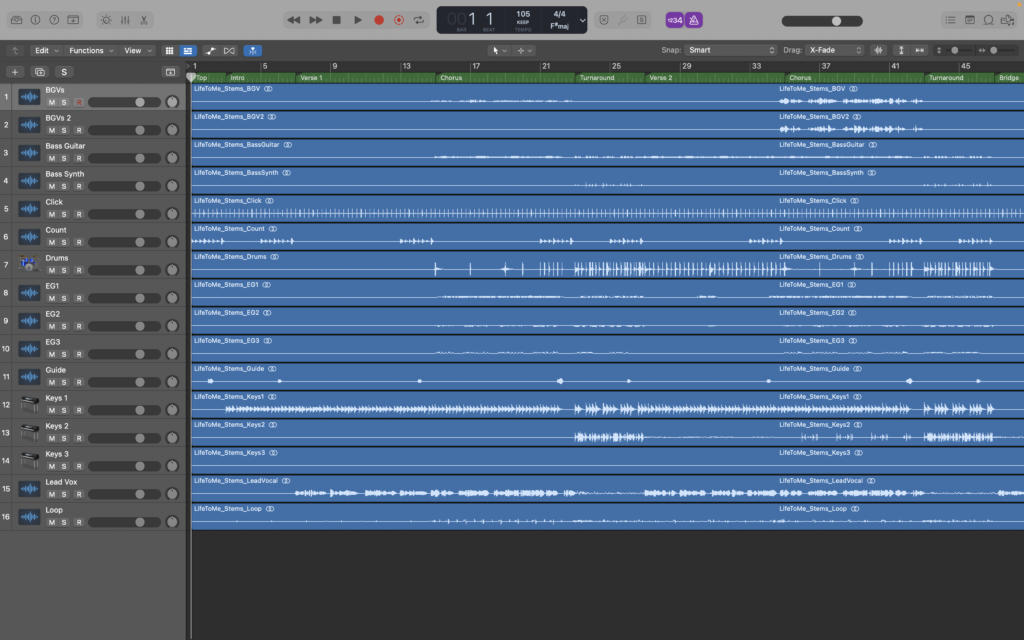
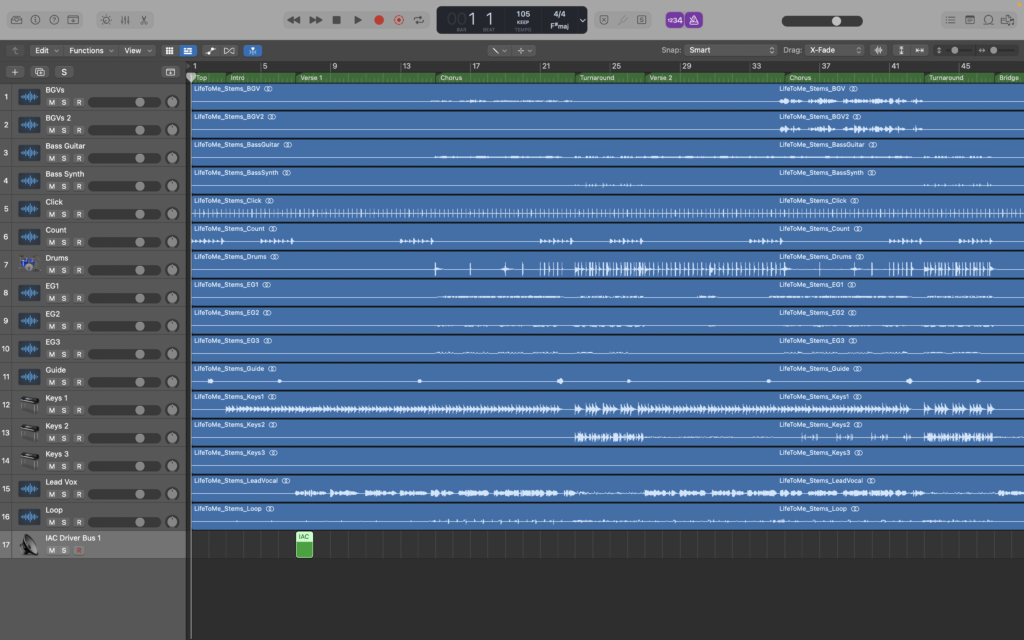
We’ll then create a blank MIDI track, and set the MIDI destination to ‘IAC Driver Bus 1’ (or whatever name you assigned to the IAC Driver) and then select ‘All’, then press ‘Create’. (You can also rename the track if you wish).

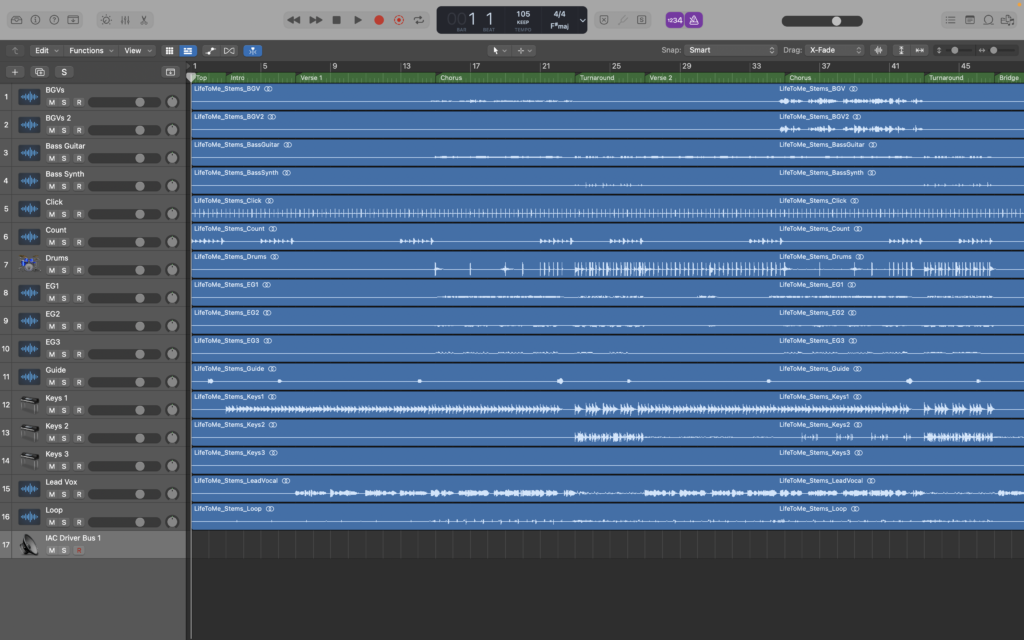
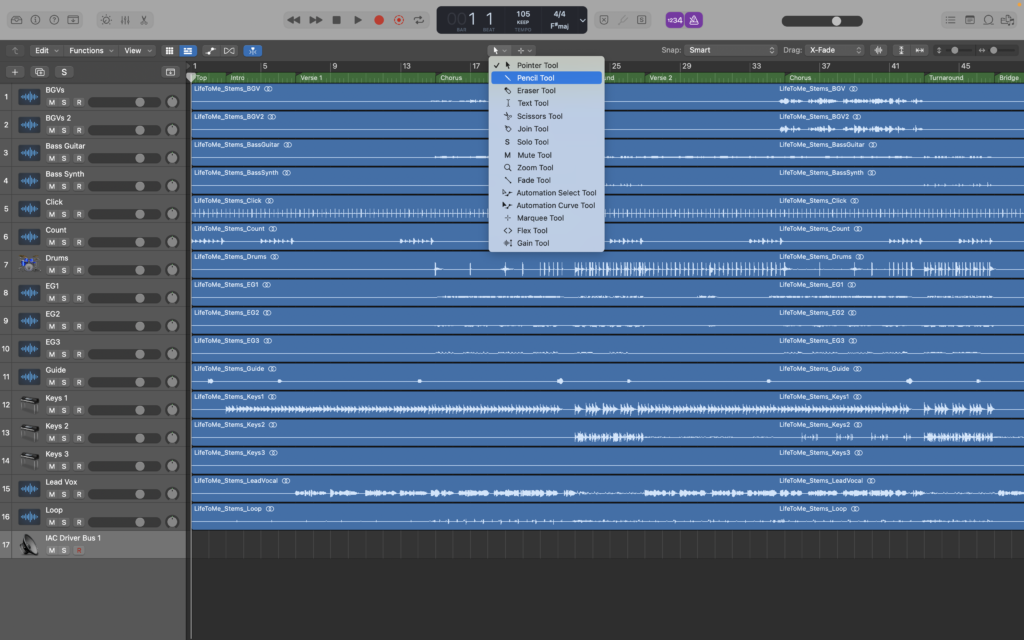
Use the pencil tool to create a blank MIDI region on the MIDI track you’ve created.
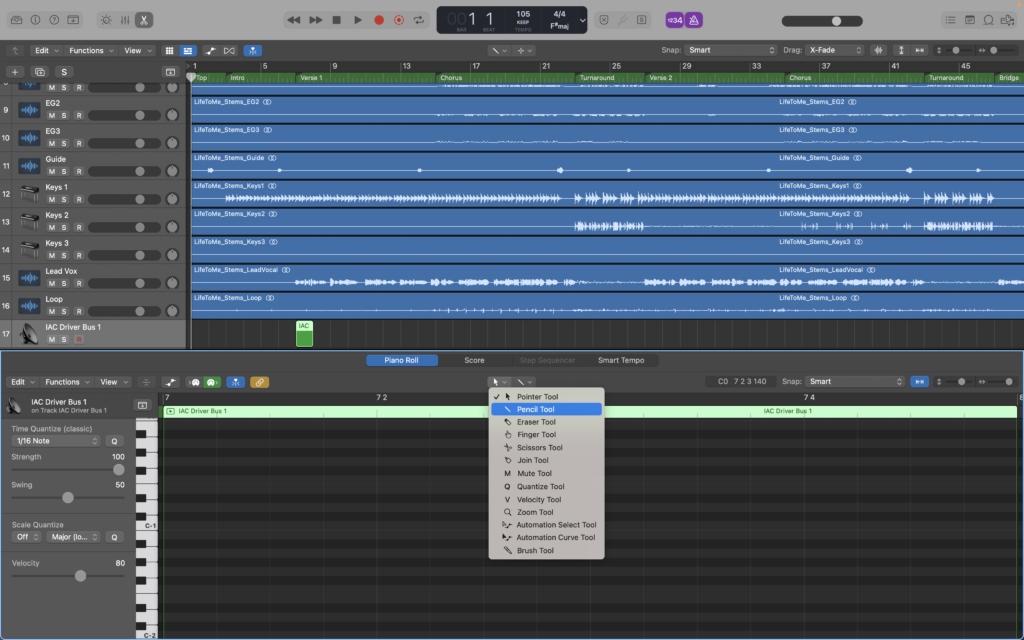
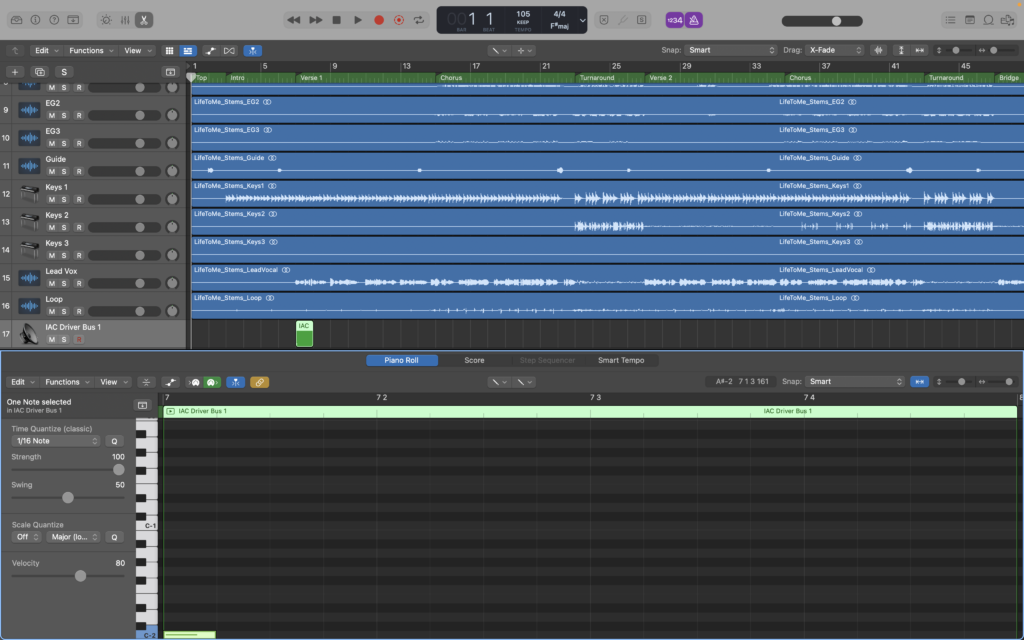
Double click on the blank MIDI region to open up the ‘Piano Roll’ and, selecting the pencil tool again, draw a note. For this example, we’ll use C-2.
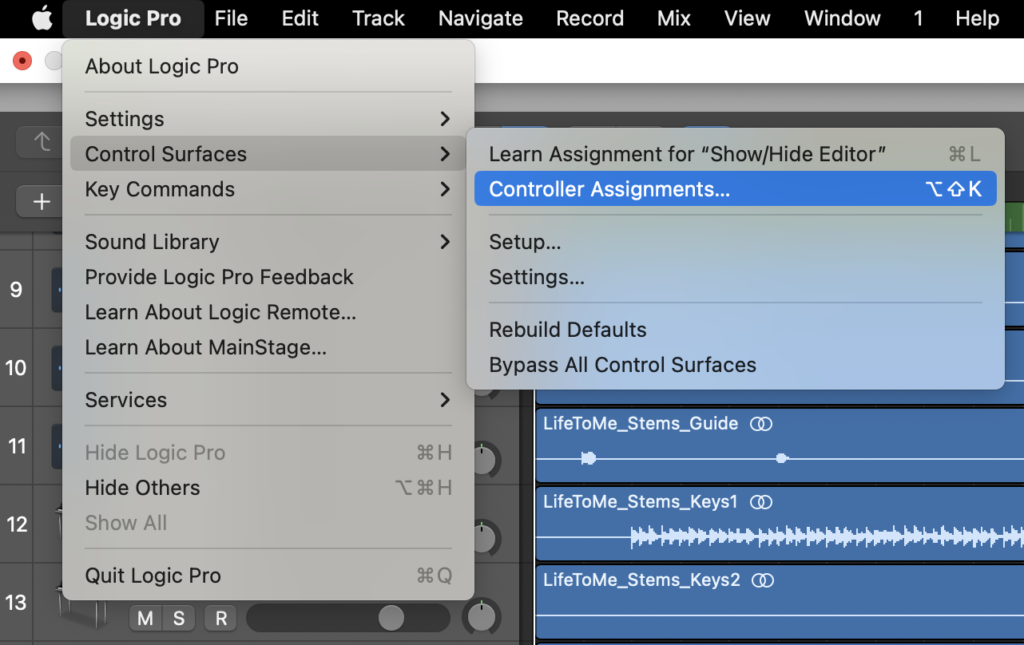
Then, using the menu bar, head over to Logic Pro >> Control Surfaces >> Controller Assignments
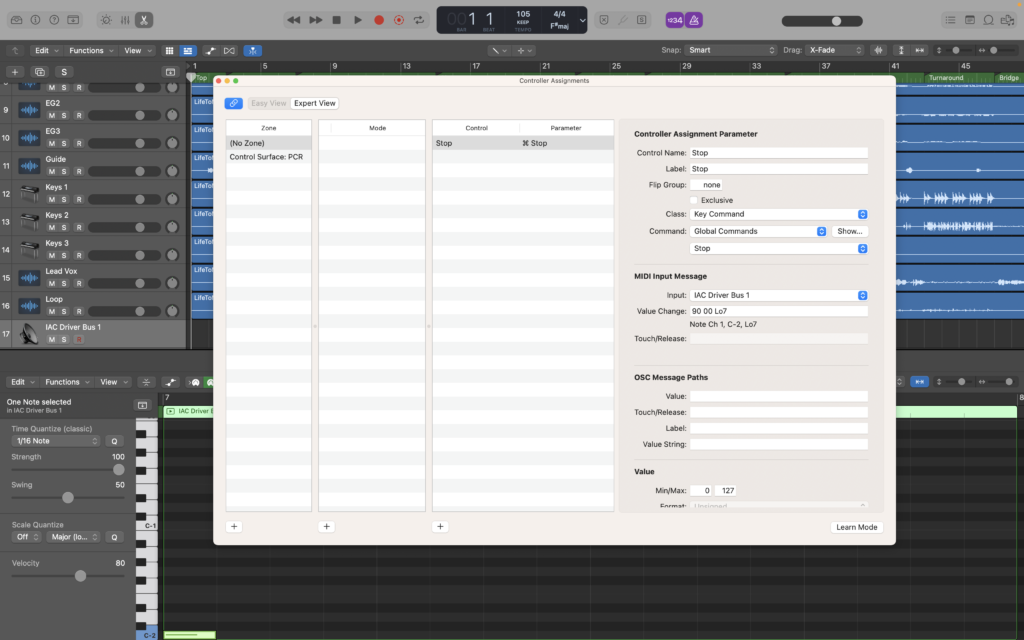
Making sure you’re in ‘Expert View’, select the Input dropdown box and select ‘IAC Driver Bus 1’ (or the name you renamed the IAC Driver to).
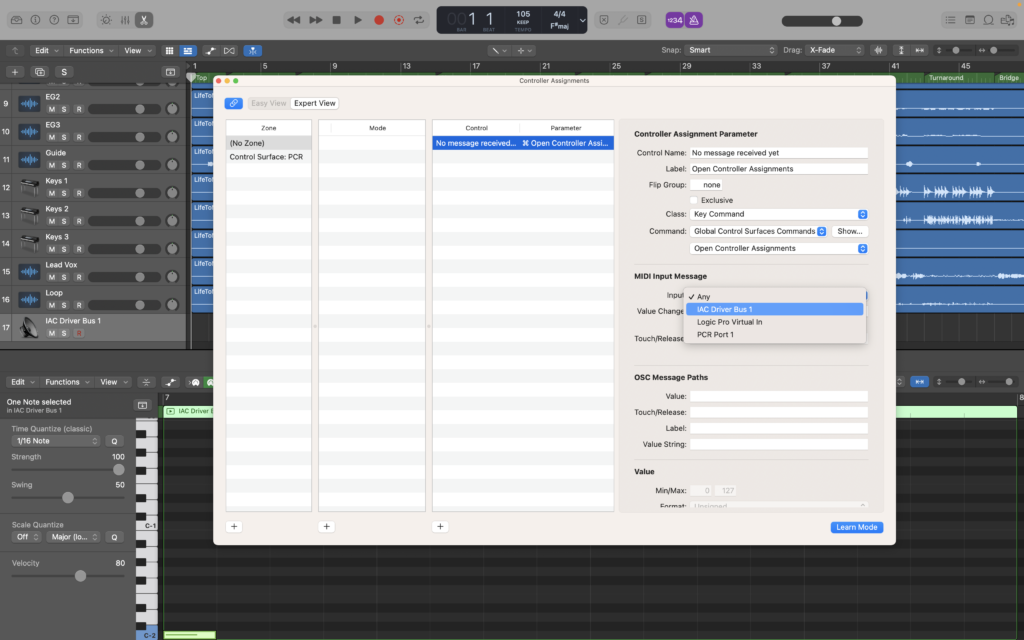
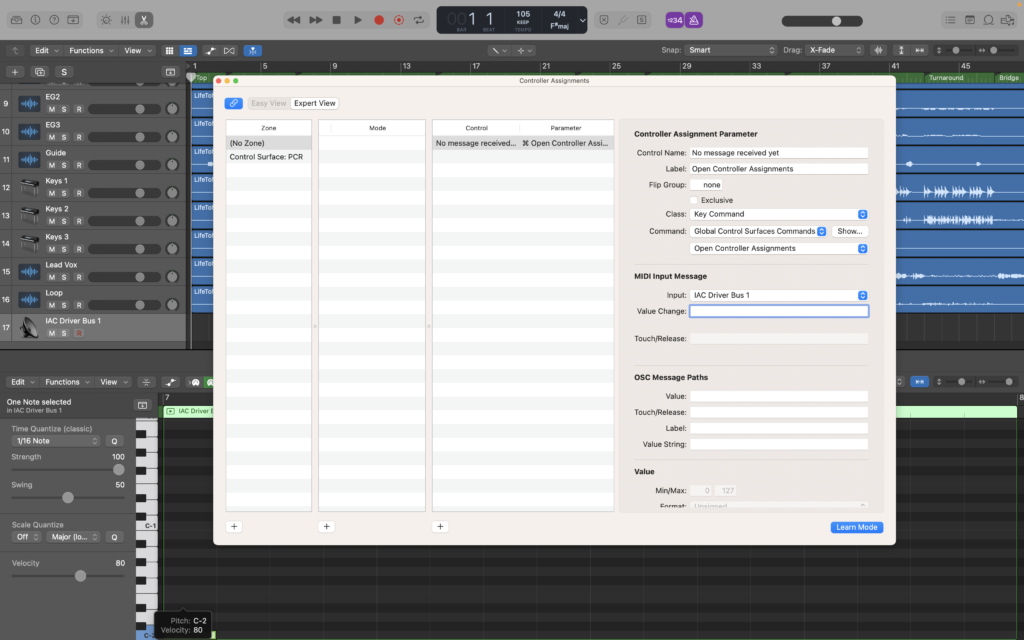
After that, click on the blank box next to ‘Value Change:’ and then click on the MIDI note you drew earlier (our example is C-2). This will then populate the empty box with some information.
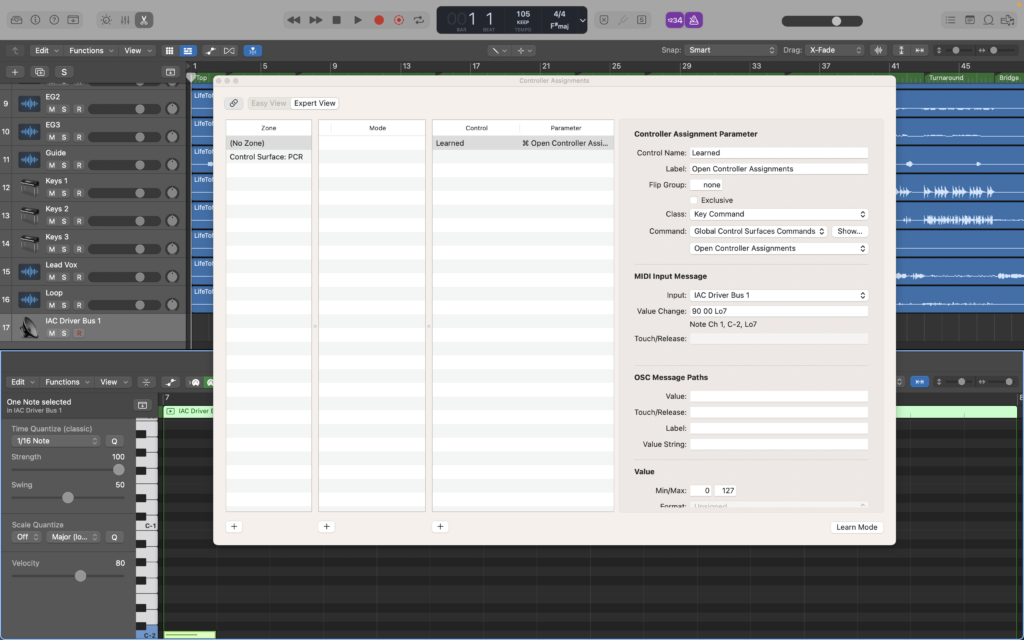
In the ‘Command:’ dropdown box select ‘Global Commands’ and in the drop down box below that select ‘Stop’
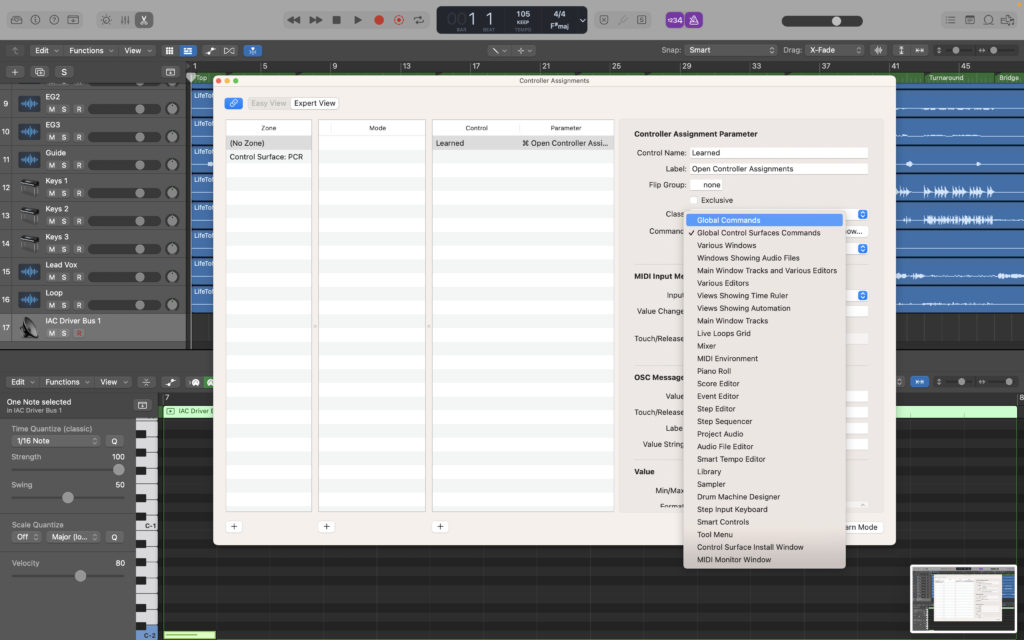
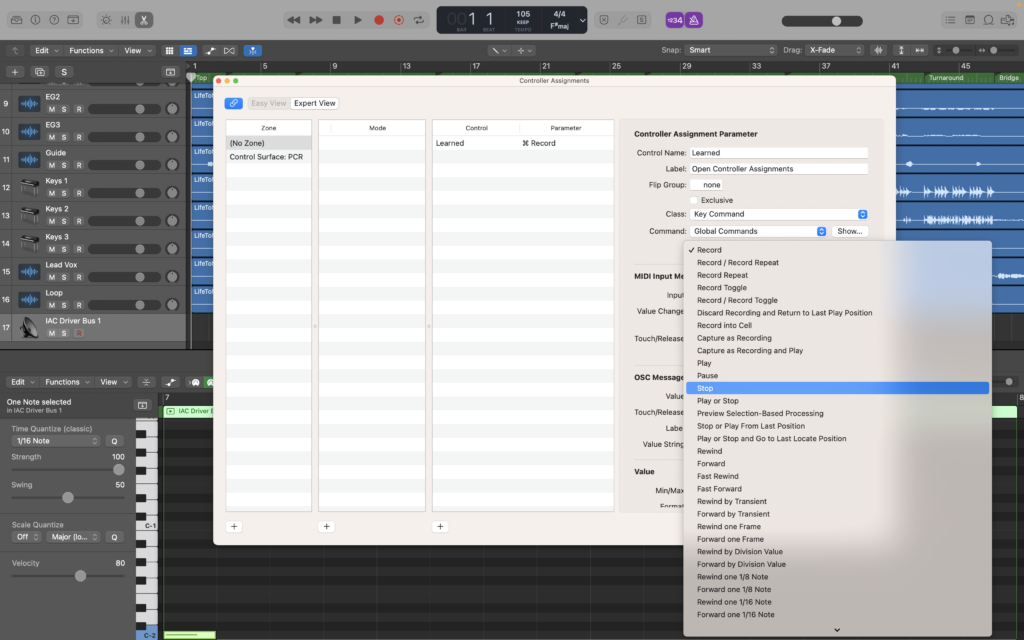
Set the ‘Control Name’ to ‘Stop’ so it’s easily identifiable. This will also change the name of the ‘Label’. When you’re done close the Controller Assignments window.
The last thing to do is to test that it works.
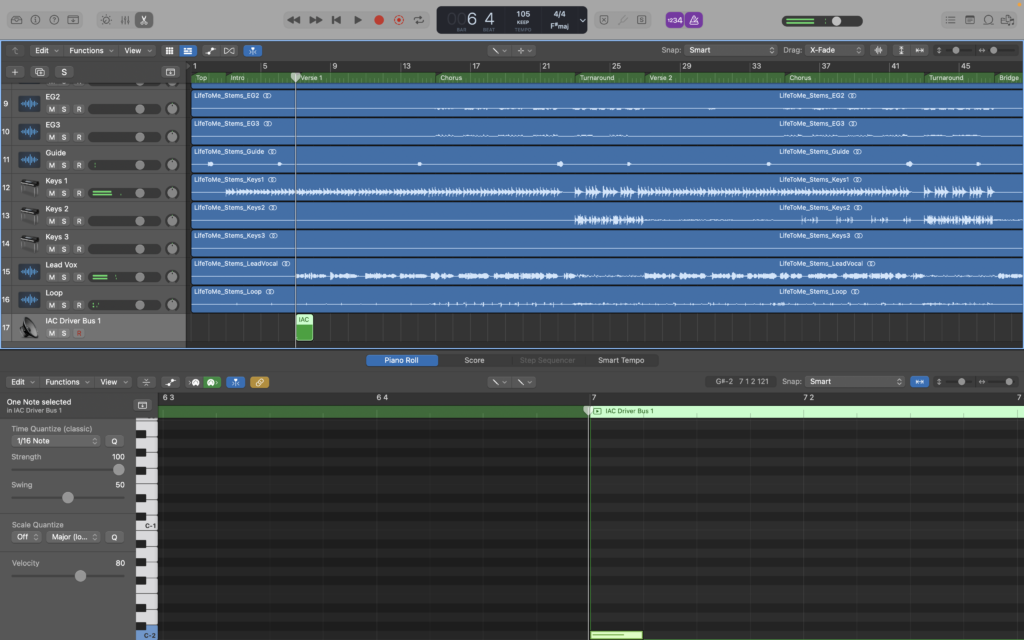
Done!
I hope you found this helpful and rest assured there will be a lot more we’ll do with automation to help your live performances. We hope you look forward to the following posts.
Thanks for reading!
Leave a Reply