Your basket is currently empty!
Creating A Time Signature MIDI Clip
In addition to using the section label template to create MIDI clips to outline your song sections, you can also do the same for time signatures. More often than not, most songs have a consistent time signature, but every so often we’re faced with a song that either has a change in time signature or adds/loses half a bar mid song section. Using our section labels template we can create a MIDI clip to mark out where to add in our time signature changes when creating setlists.
Creating A Time Sig MIDI Clip
Just as with creating a MIDI track for song sections, you’ll drag in the appropriate time signature MIDI clips from the als file in the Section Labels template. It’s a good idea to have one at the beginning of every song so that when you build a setlist you’ll remember to add in a time signature change at the start of each song.
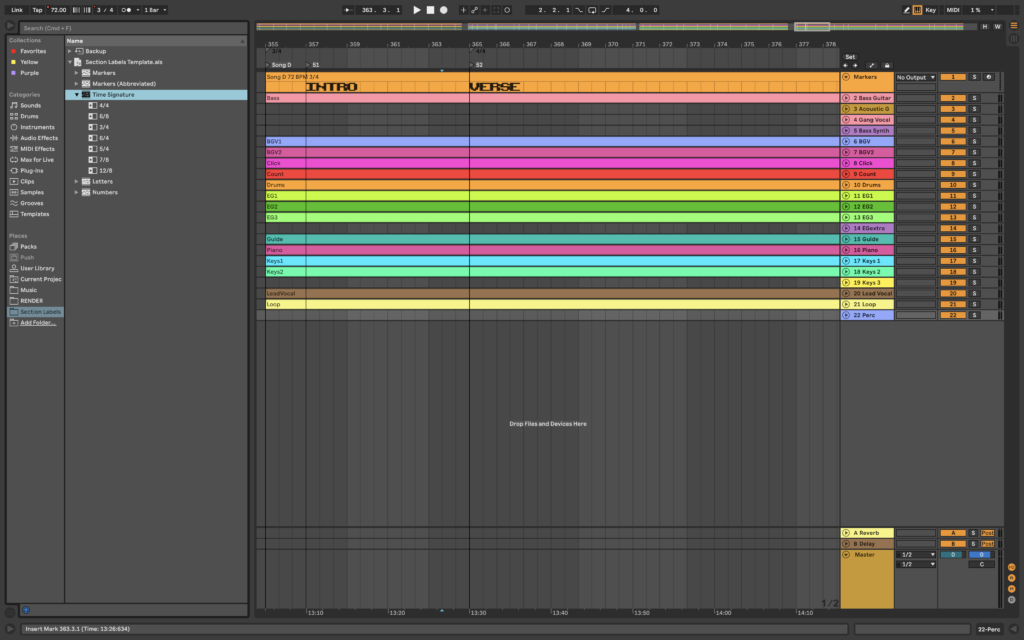
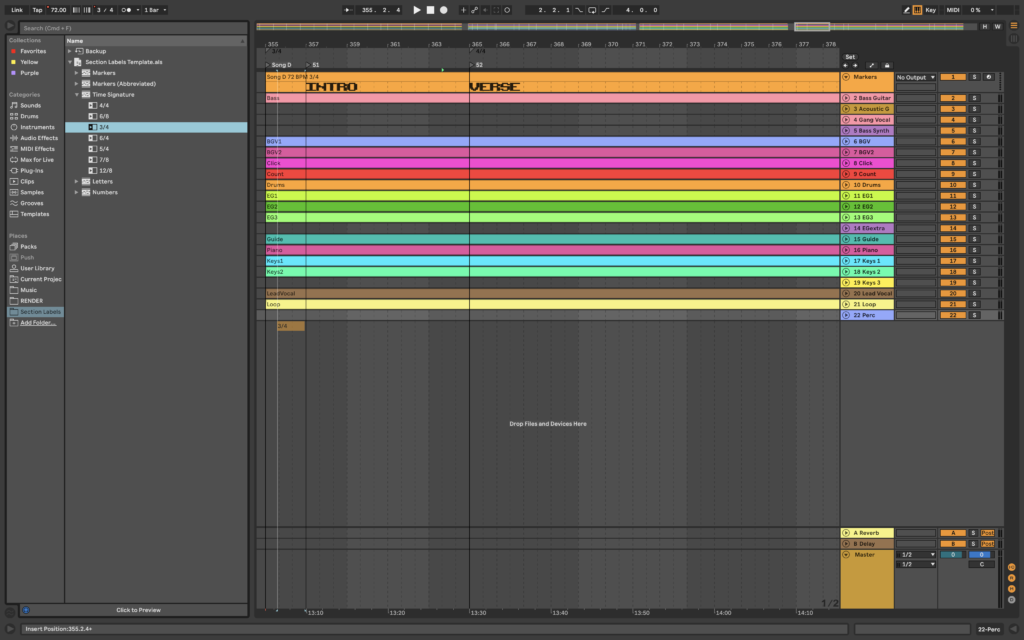
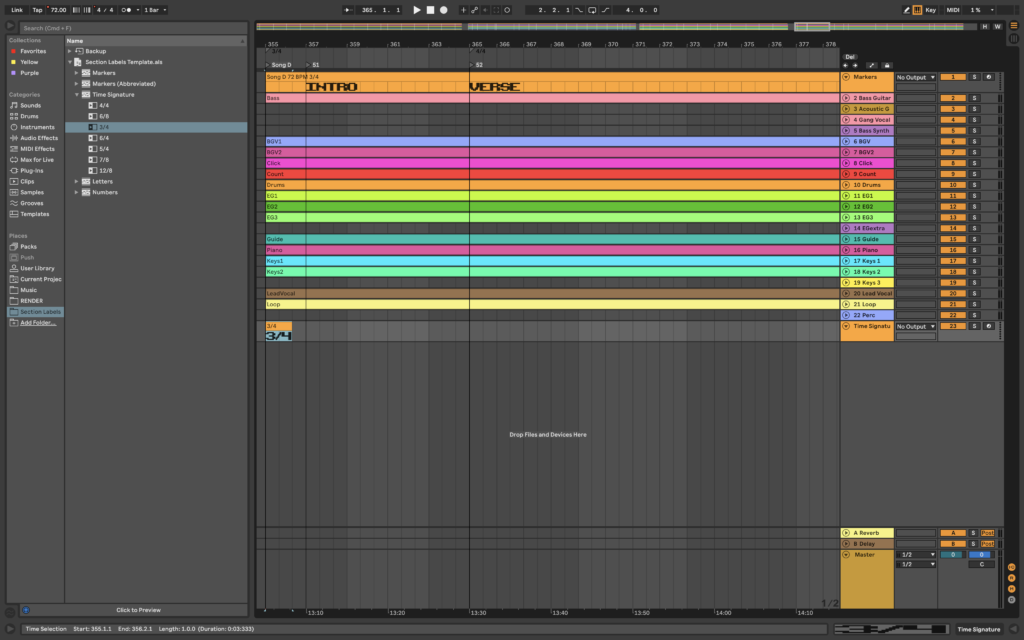
After placing all of the time signature marker clips into their correct positions, drag the end of the last MIDI clip to the end of the song. Then select the one at the beginning and the one at the end and press Cmd-J to consolidate them.
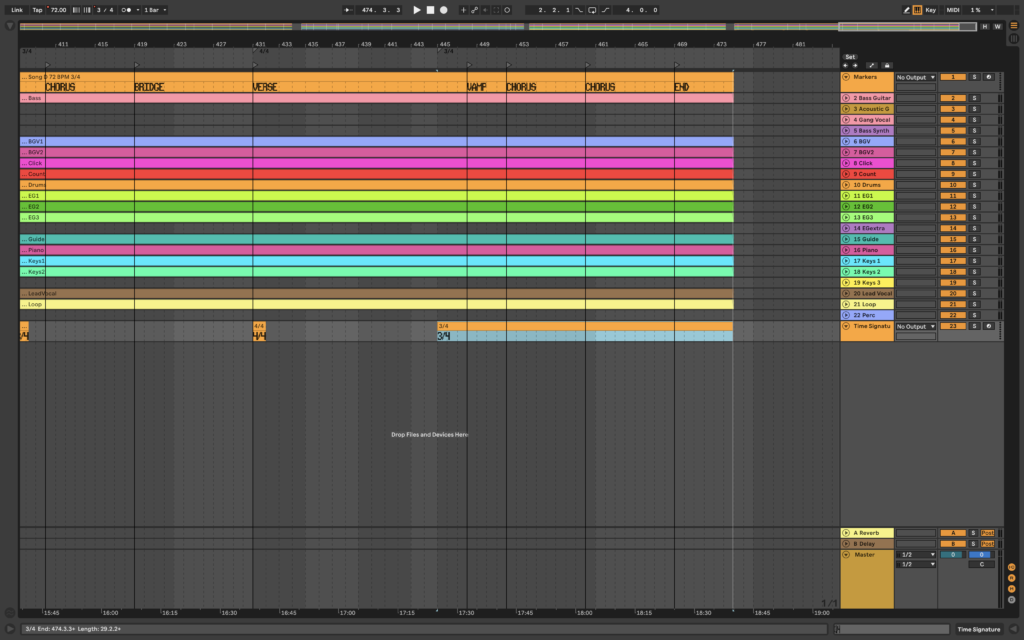
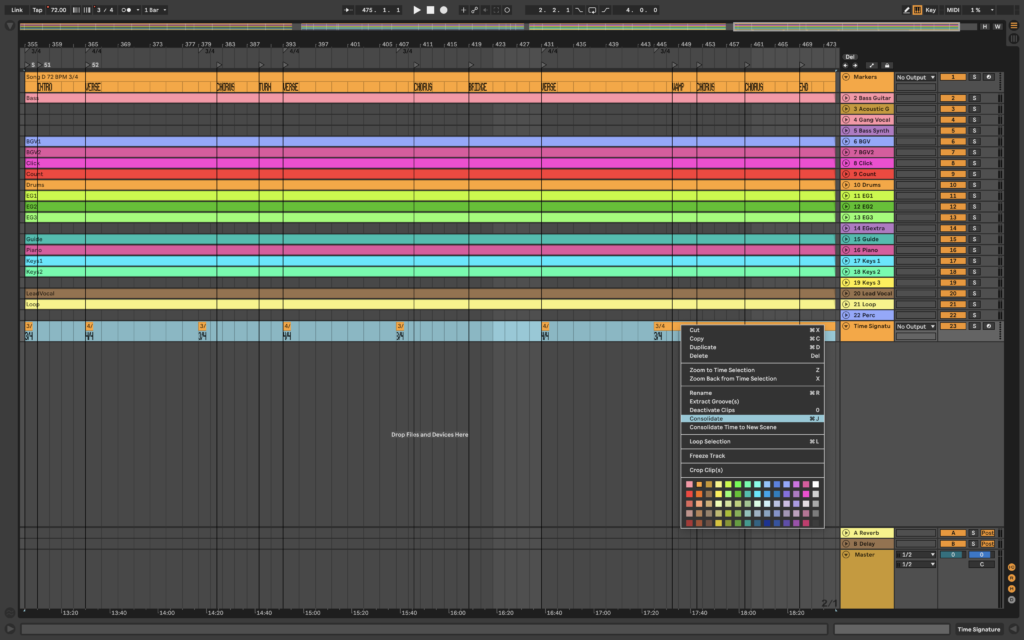
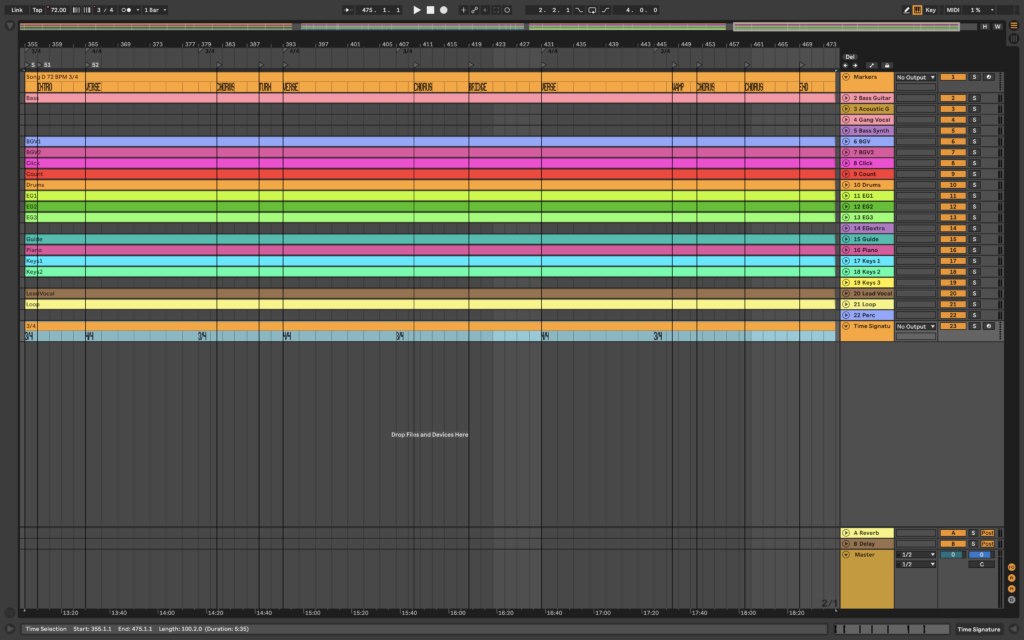
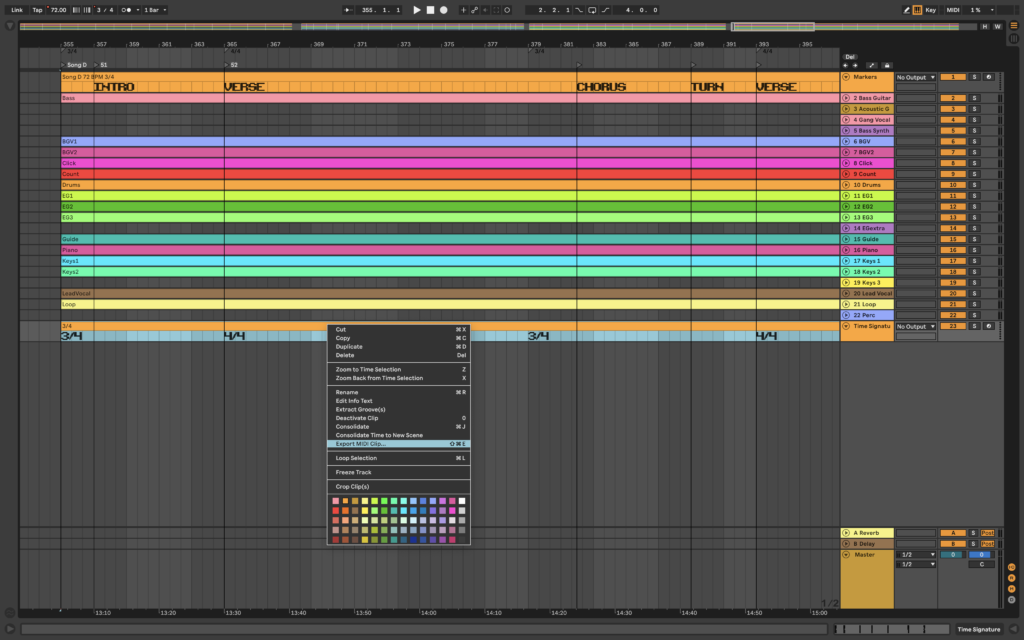
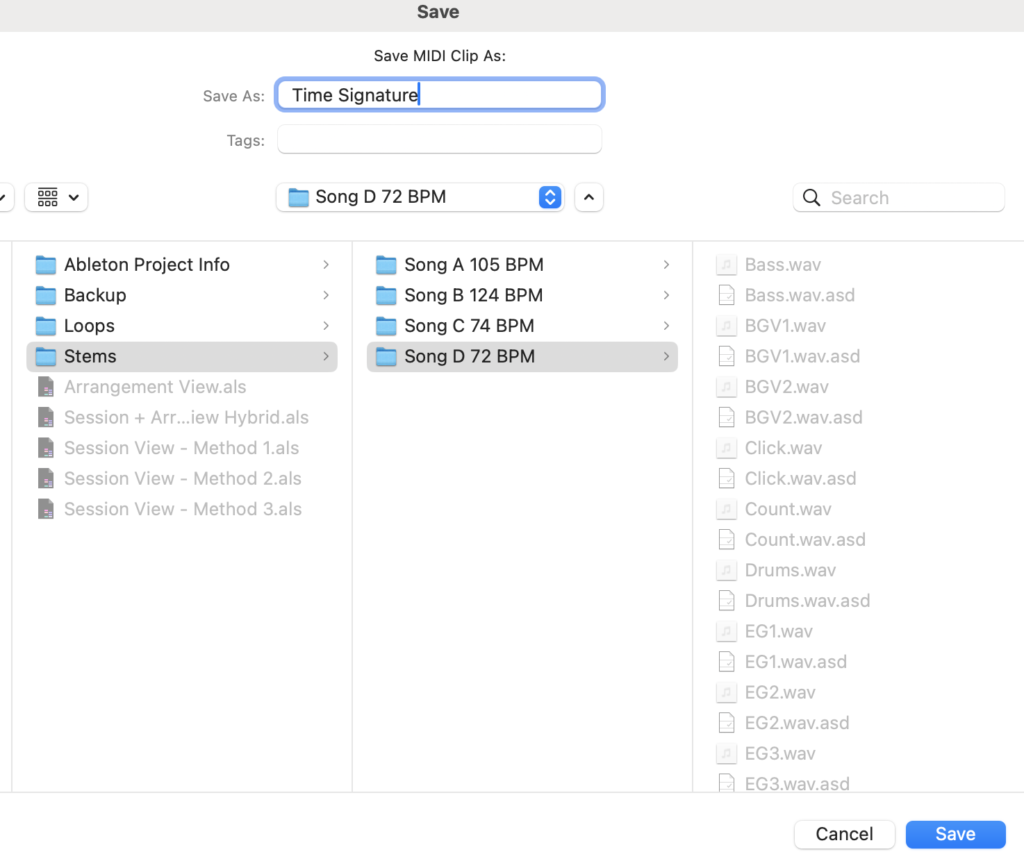
You can also export your time signature MIDI track so it’s saved in the same folder as your audio files. Select the appropriate folder and click ‘Save’.
Closing Thoughts
Having time signature MIDI clips to mark out your time signatures is really helpful for those who need to make sure their time signatures are inserted correctly in order for their tracks to be in sync with Ableton’s global grid. We hope we’ve demonstrated how quickly and easily they can be built and added to your current workflow. Check back for more!
Thanks for reading!
Leave a Reply