Your basket is currently empty!
Creating A Setlist In the Prime MultiTrack App & Adding Markers
In the previous post, we took a look at Loop Community’s website and in this post, we’ll be looking at their Prime MultiTrack app. So without further ado, let’s get into it.
Downloading The App
The app is available for laptops, tablets and mobile devices. Here at RENDER, we’re Apple users so we’ll be demonstrating the Prime app using the MacOS version of the app, but the functionality is the same across iOS and Android versions.
Creating A Setlist
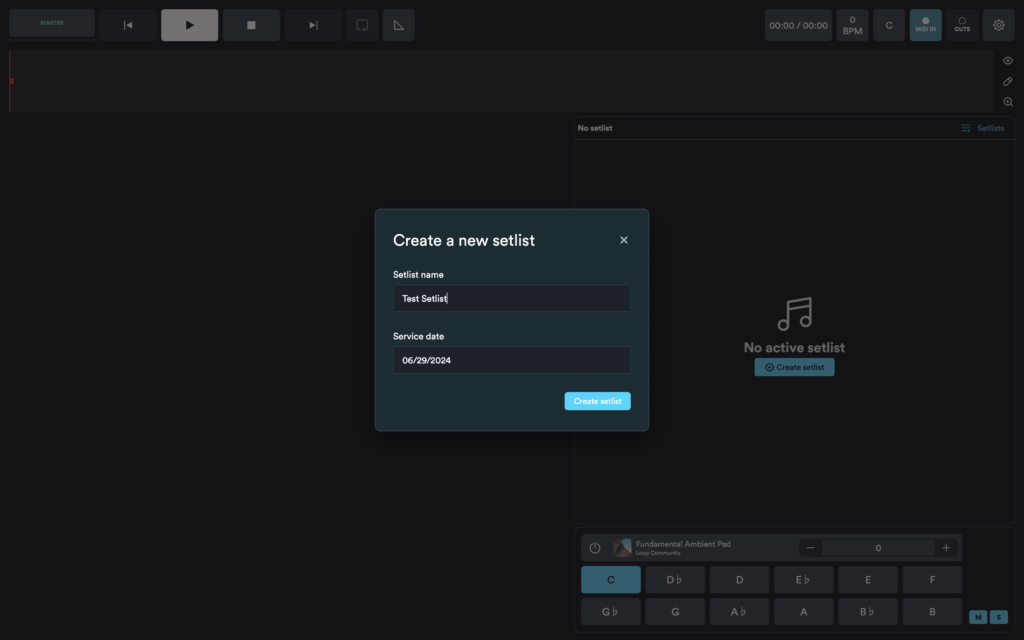
If it’s your first time using the app or you haven’t got any setlists, you’ll be greeted with the button ‘+ Create setlist’. You’ll be prompted to give your setlist a name and select the date of your performance. When you’ve filled those in, press ‘Create setlist’

Adding Songs
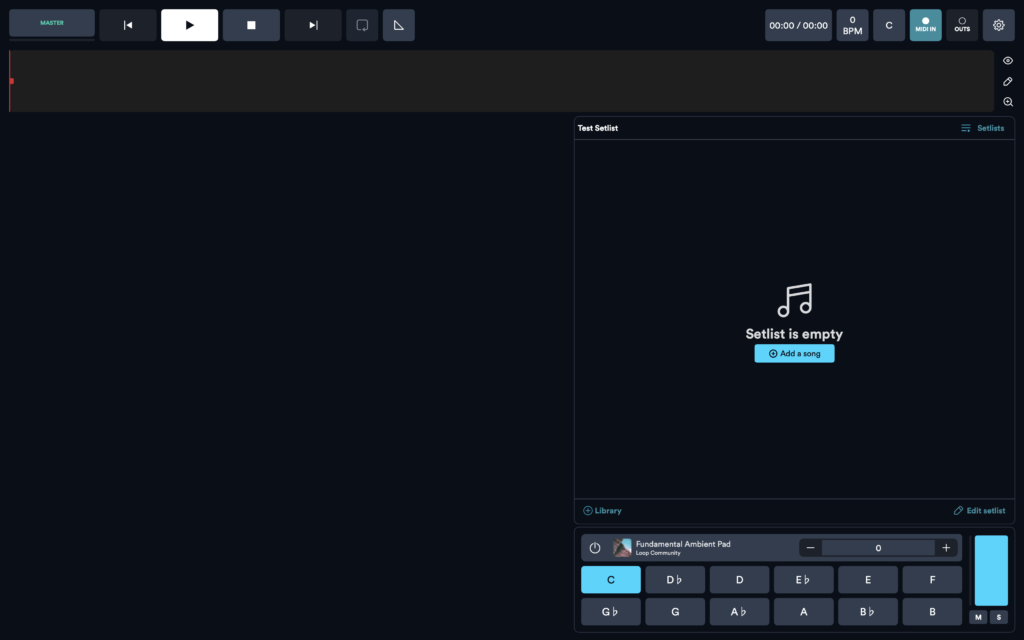
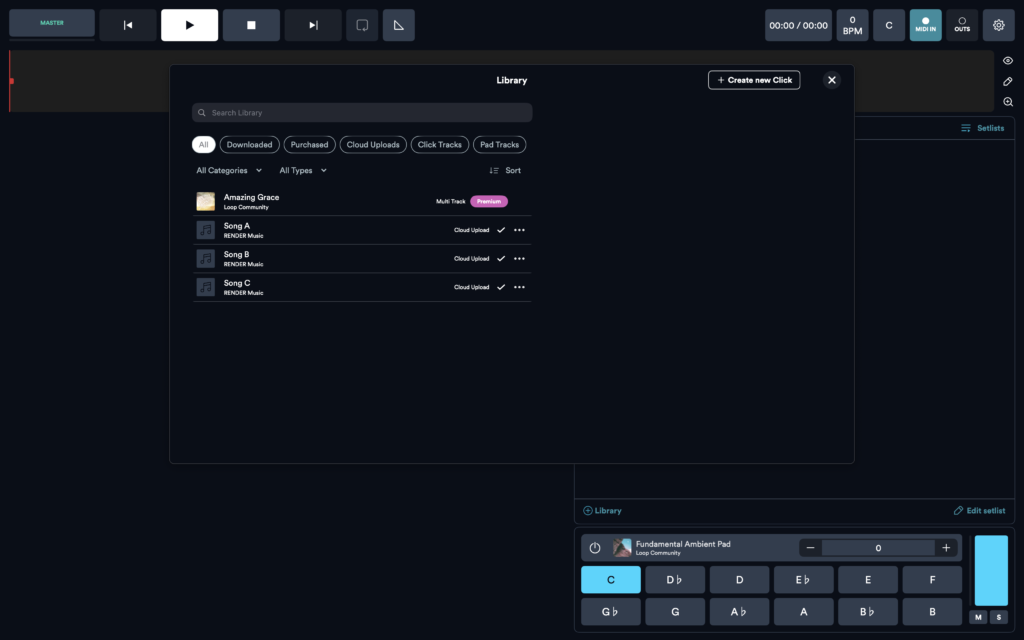
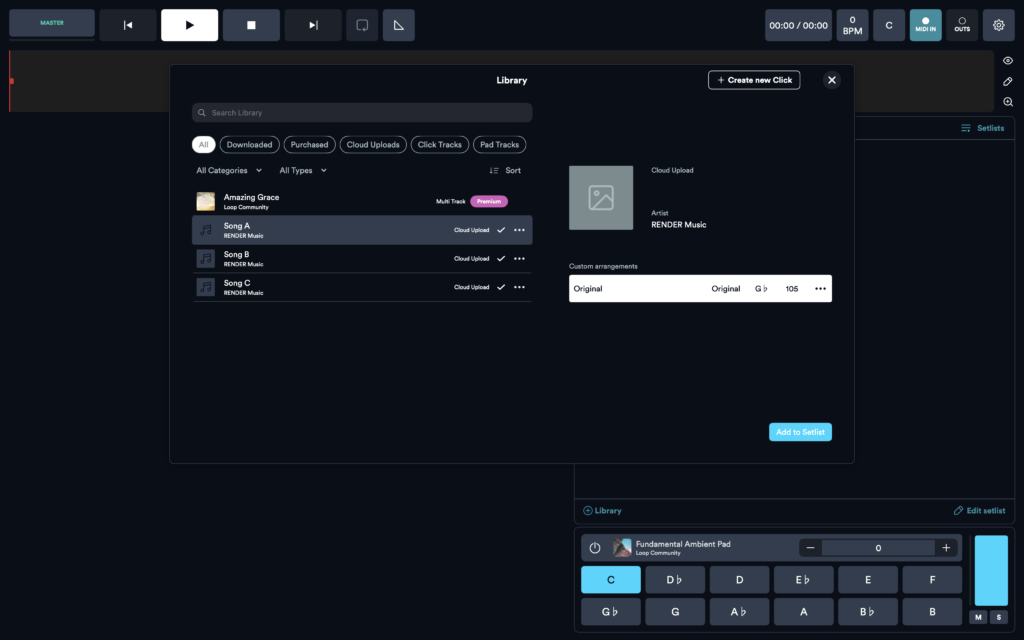
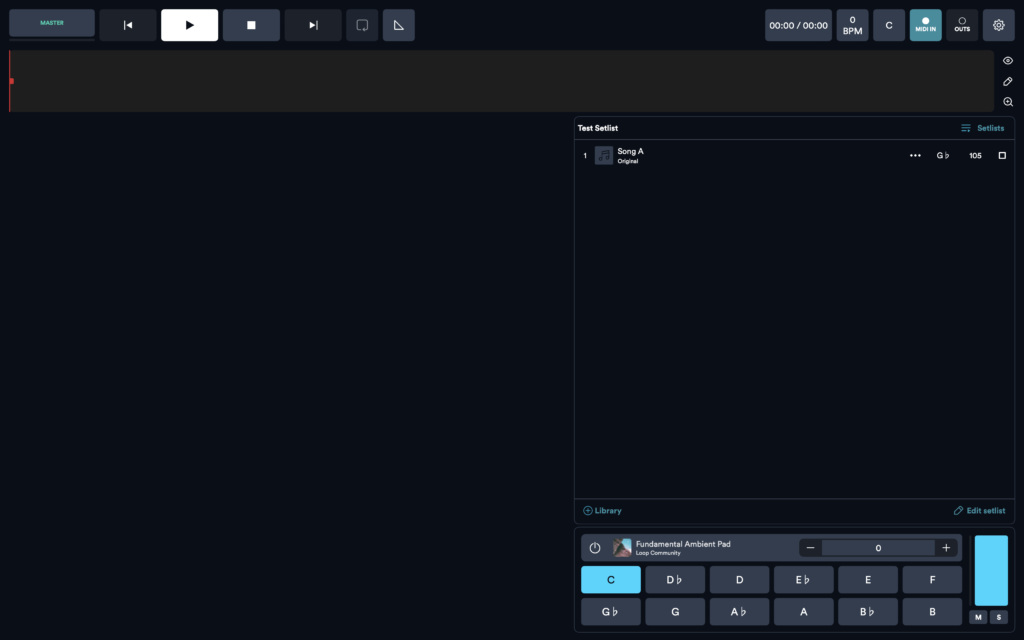
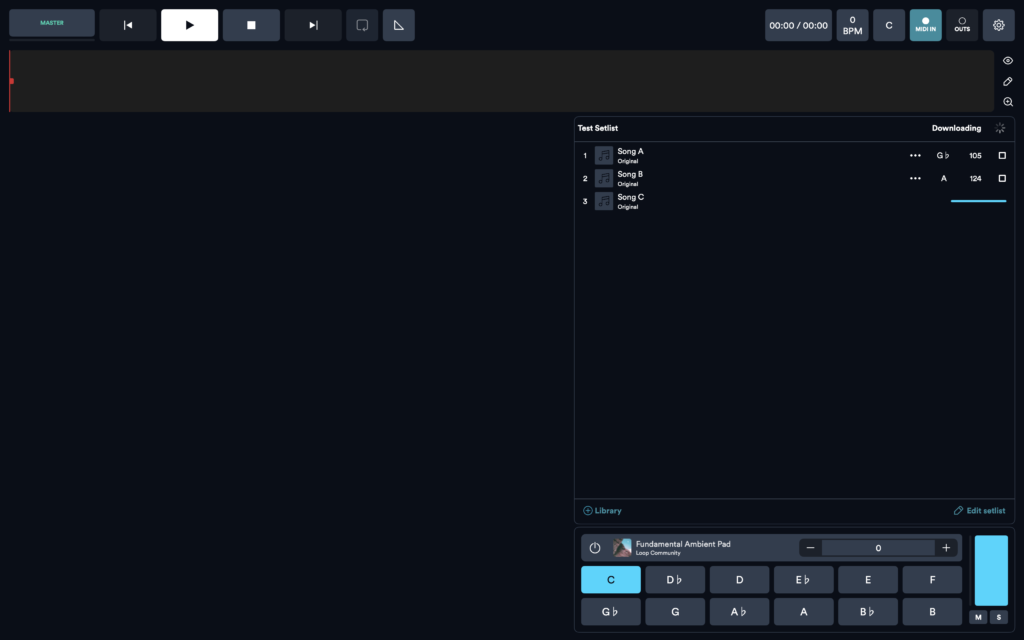
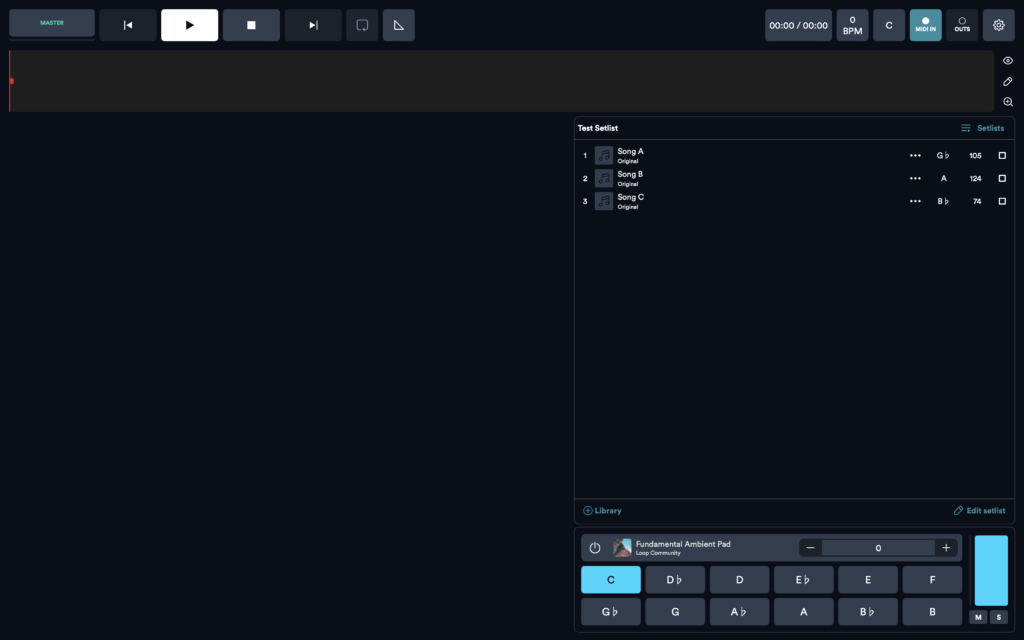
Next, click ‘+ Add a song.’ This will open up your song library. If you’ve purchased any songs or uploaded some songs to the Loop Community website, they’ll appear here. Click on the song you want, choose the arrangement (the default arrangement is ‘Original’) and then click ‘add to setlist’. Repeat this process for each of the songs you’d like to add. Also, the songs need to be available offline and will be downloaded, but this process doesn’t take long. The progress of the download is indicated with a blue bar. For help uploading your tracks, check out this post.
Editing Markers
Now, your setlist is ready to go but if you want a bit more functionality, you’ll want to stick around. The Prime app allows you to assign markers to mark out the different song sections in your track. This allows you to create custom song arrangements and repeat/skip sections spontaneously. To assign these markers, click on the song you want to add them to and click on the little pencil tool located at the top right. You’ll be given 3 options, choose ‘edit markers’

You’ll notice some vertical lines have appeared on your track’s timeline, the thick lines are the bars, and the thin lines are the beats. One tip I’d suggest is zooming in to be more precise, but don’t worry, your markers will always snap to a line. The zoom button is located in the top right underneath the pencil button.
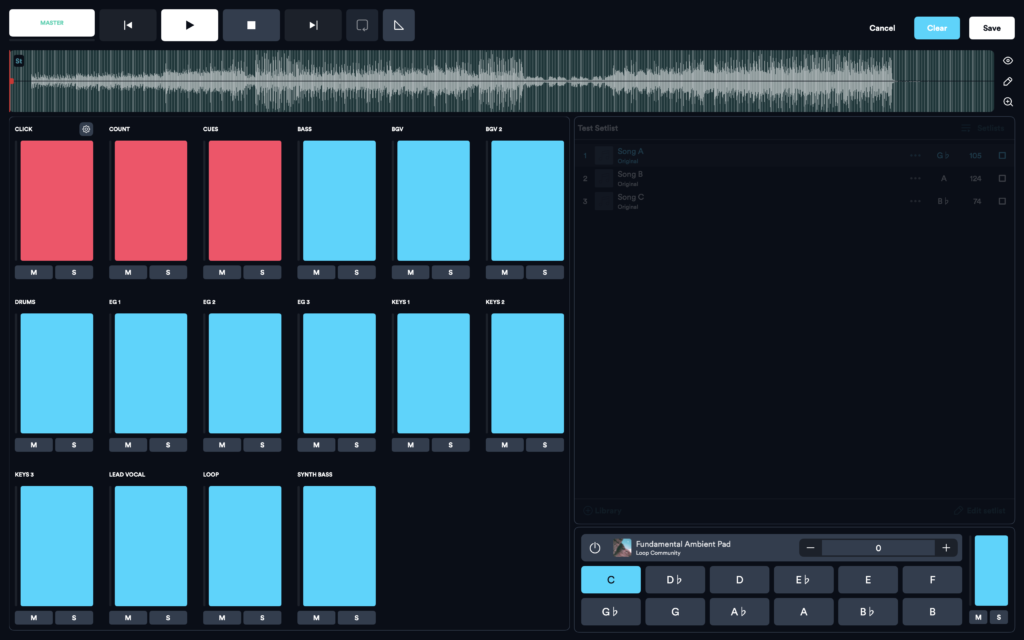
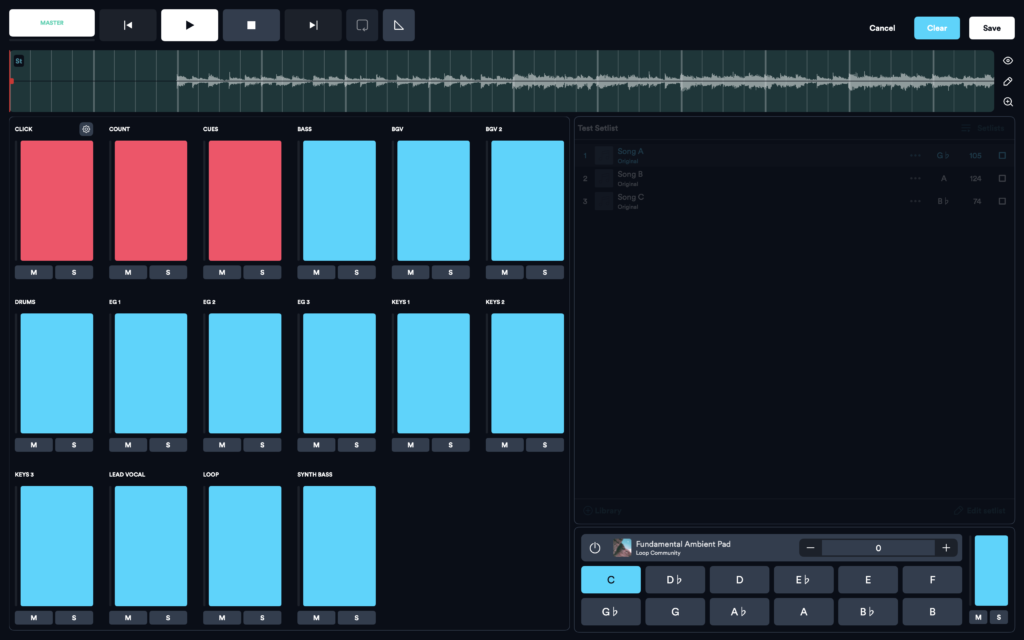
This process does require you to listen through the track in order to determine where the different sections start. You must also note that the sections must start on the first downbeat, this would be the first bar of the section. This must be emphasised because some songs have vocal or musical phrases that can start before or after the first downbeat. All sections must start/end on a downbeat, or the thick lines, in order that they can be rearranged and looped properly. (If you’ve got songs that have sections that are, for example, 8.5 bars long, your best bet is to double the tempo.)
To add a marker, double click on the downbeat at the start of your section and then choose the section name from the drop-down menu. There are a limited number of song section titles in the Prime app so if you can’t find what you’re looking for, you’ll have to try and find the closest match. Repeat this process for every section in your track. This process can be quite time consuming but once it’s done, you’ll always have the markers.
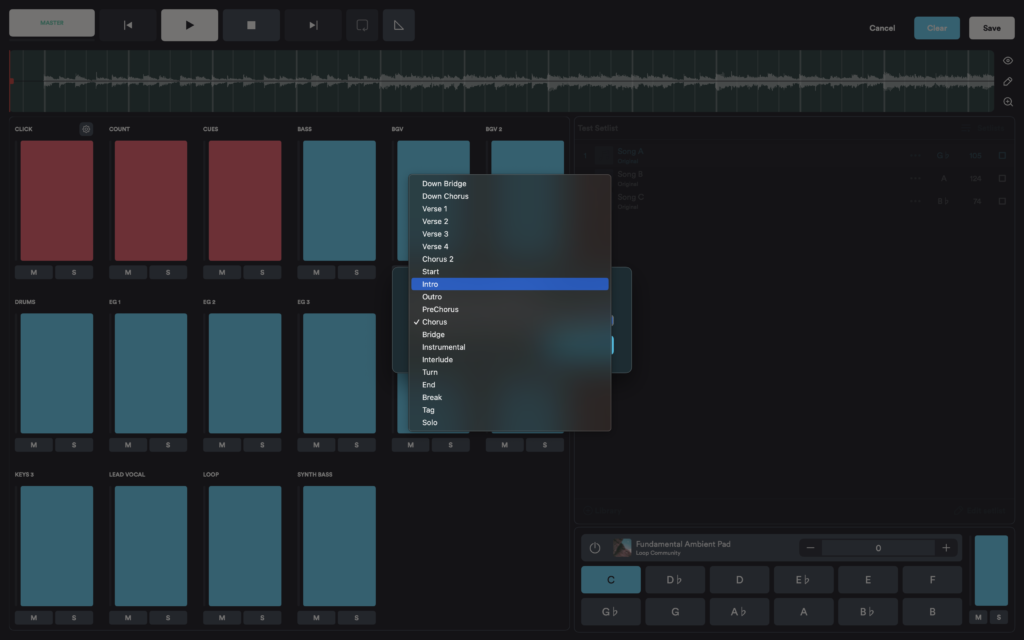
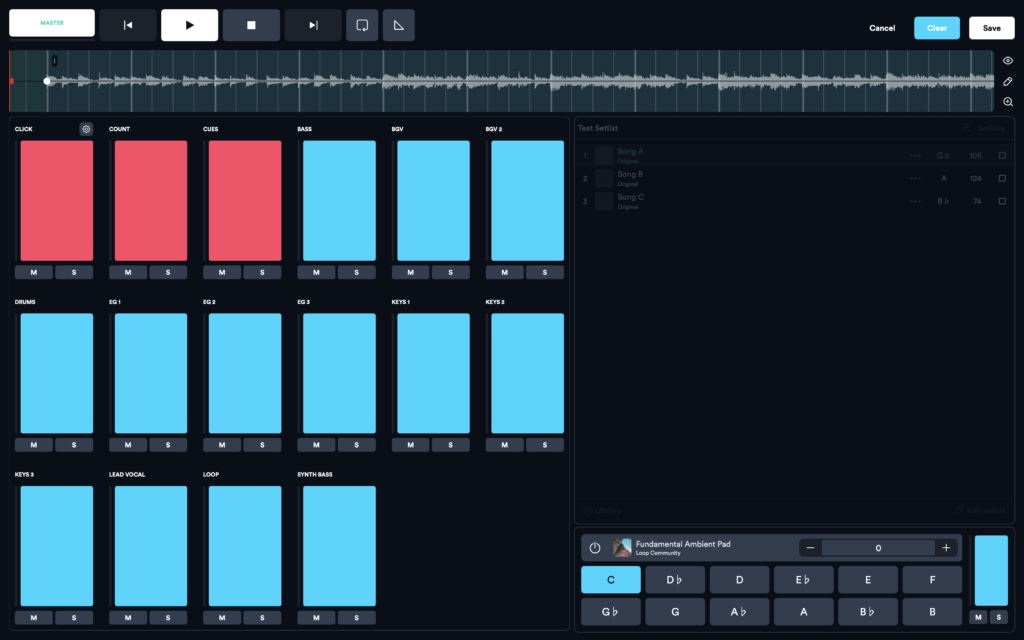
When you’re finished press ‘Save’, located at the top right.

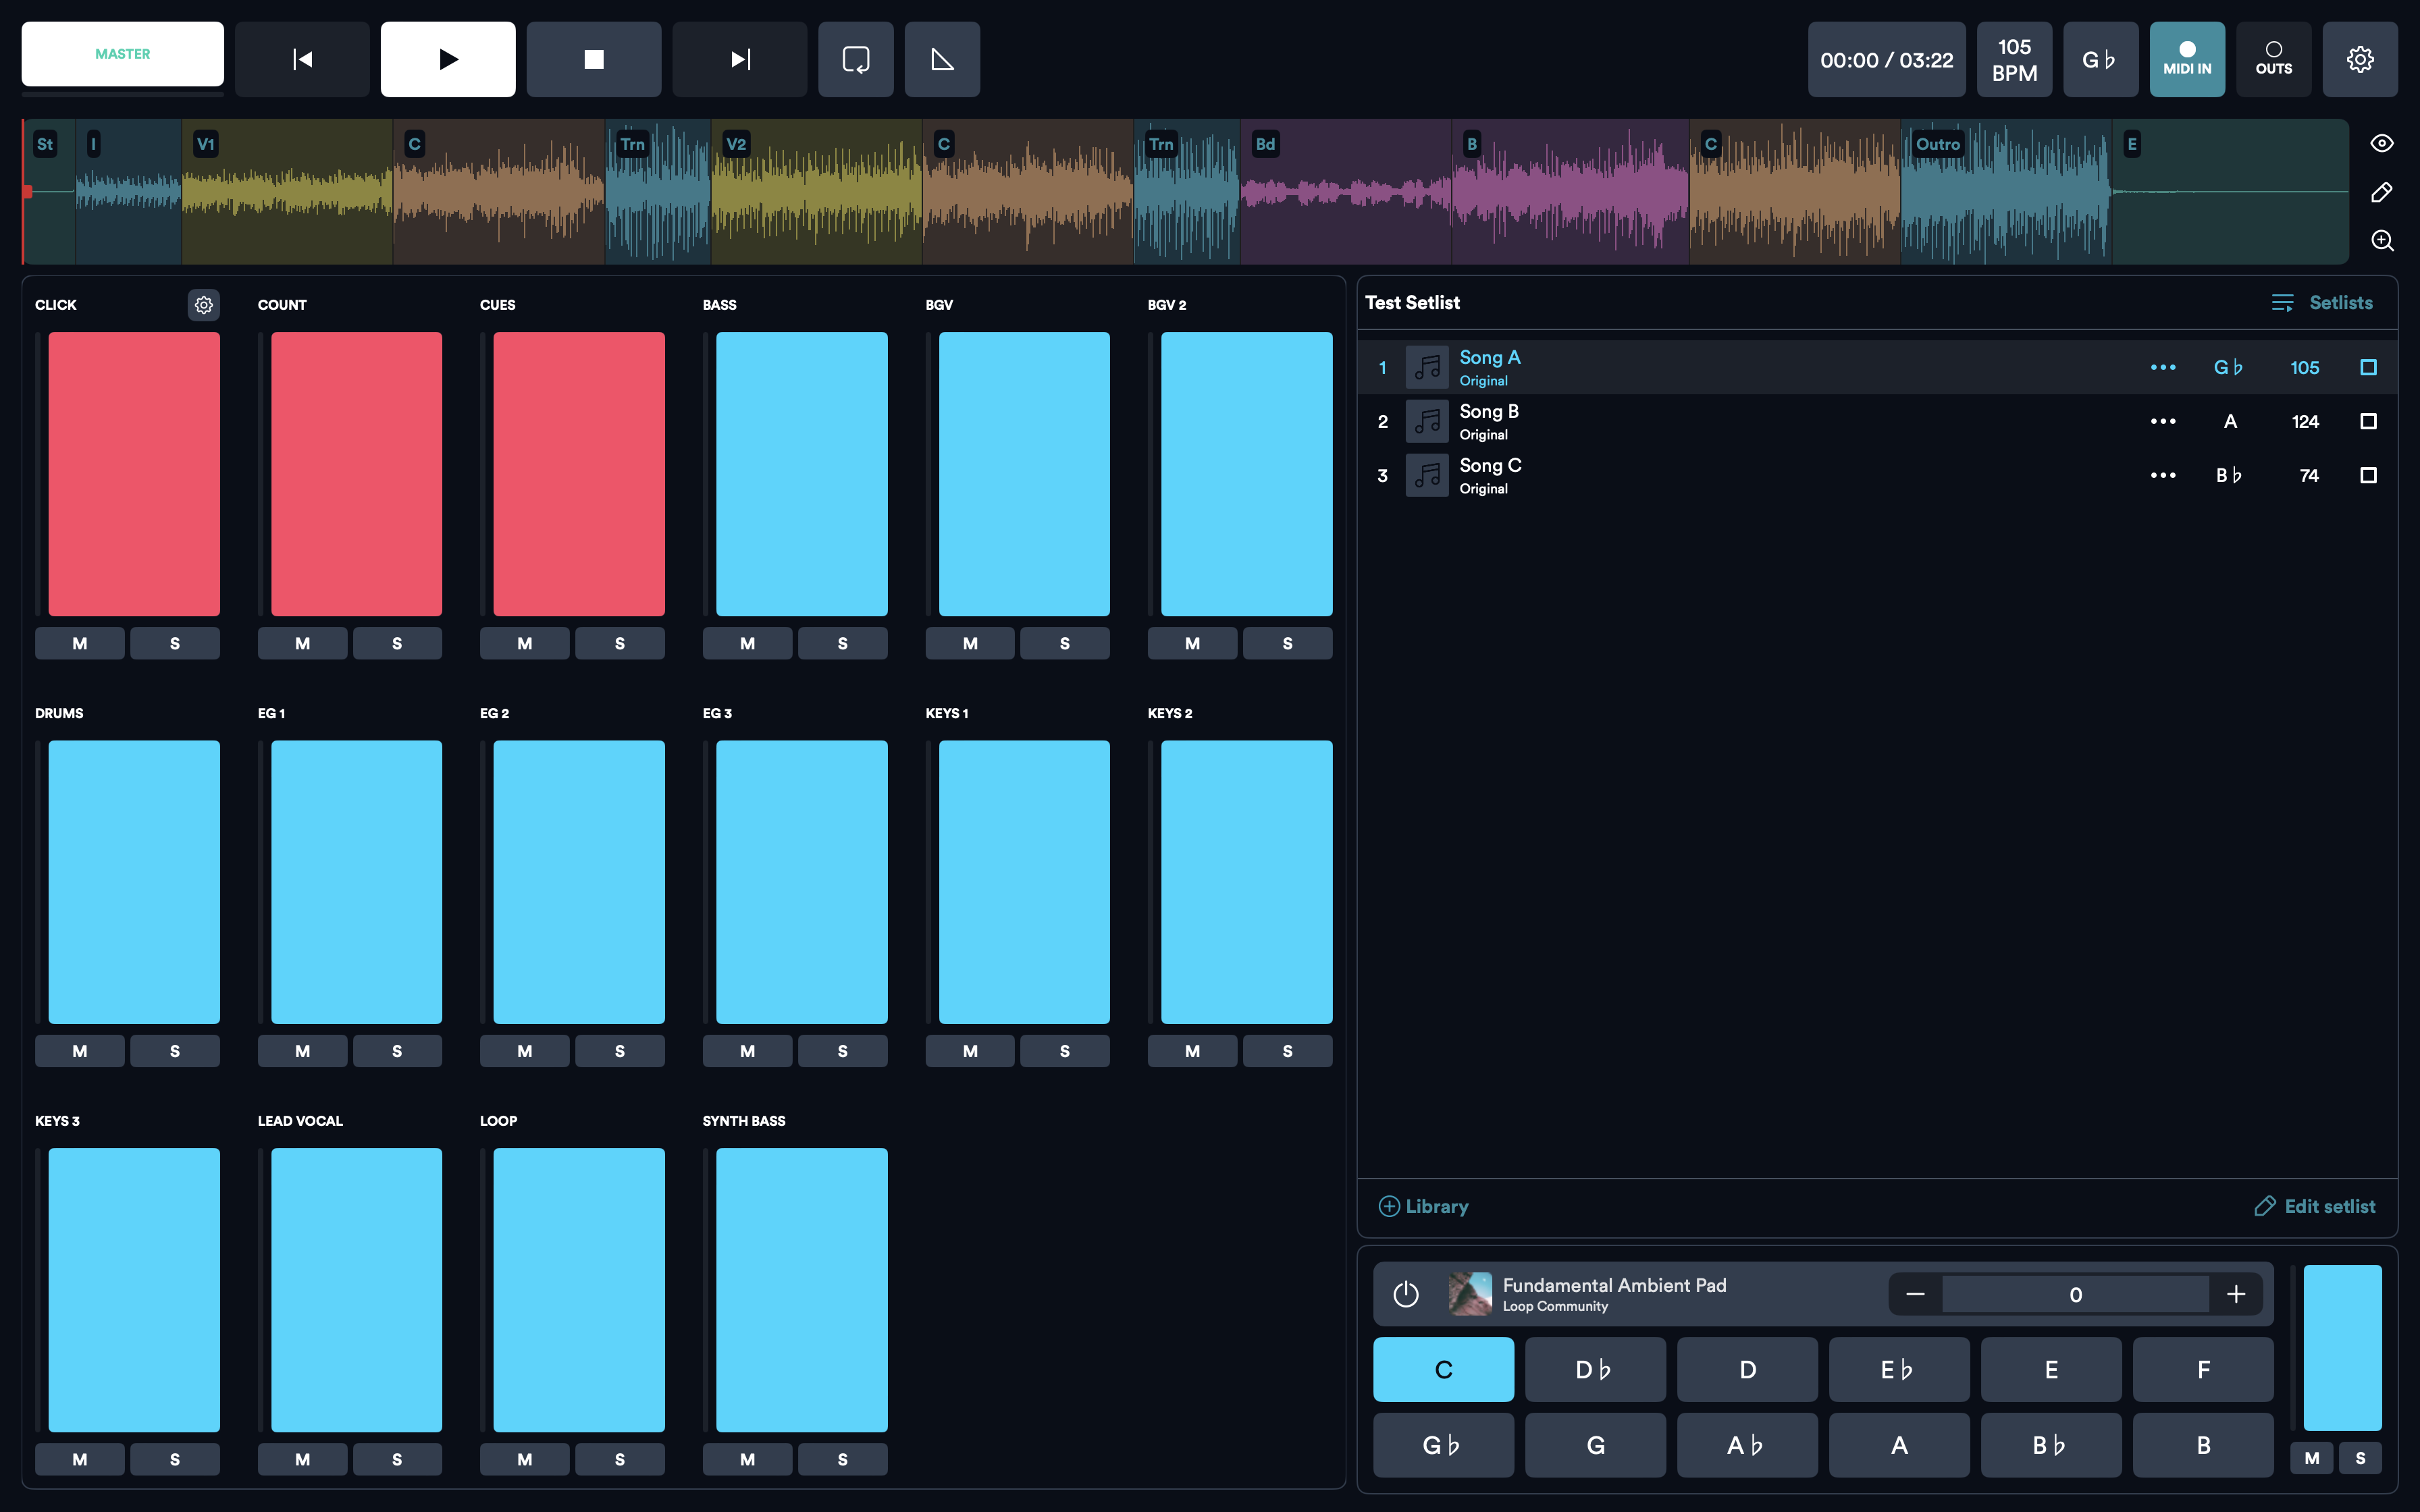
You’re done, and you’ll be able to see all of the sections you assigned!

Closing Thoughts
The Prime app is a great way to build setlists and run tracks. It’s easy and, like mentioned earlier, can be used on a laptop, iPad or iPhone. We hope you’ve found this post helpful and have been able to create setlists, add songs and add markers as a result. Next time, we’ll take a deep dive into some more functionality in the Prime app.
Thanks for reading!
Leave a Reply