Your basket is currently empty!
Running A Live Set Using An Aux Lead
Now, this may not be the ideal way to run tracks but it does work and can be a great help. In my last post I briefly touched on a few ways to get the job done, I’ll be covering some more advanced ways in future posts, but for now, let me break down the most basic method.
This method will be helpful if you’ve not got a laptop and/or music software capable of running tracks. You can use your phone or tablet to run tracks with this method or may even consider it for your redundant rig (we’ll cover redundant rigs at some point too). I’ll be demonstrating how to achieve this with Logic Pro X but this will work with any DAW.
Setting Up Tracks Using Logic Pro X
1. Setup & Import
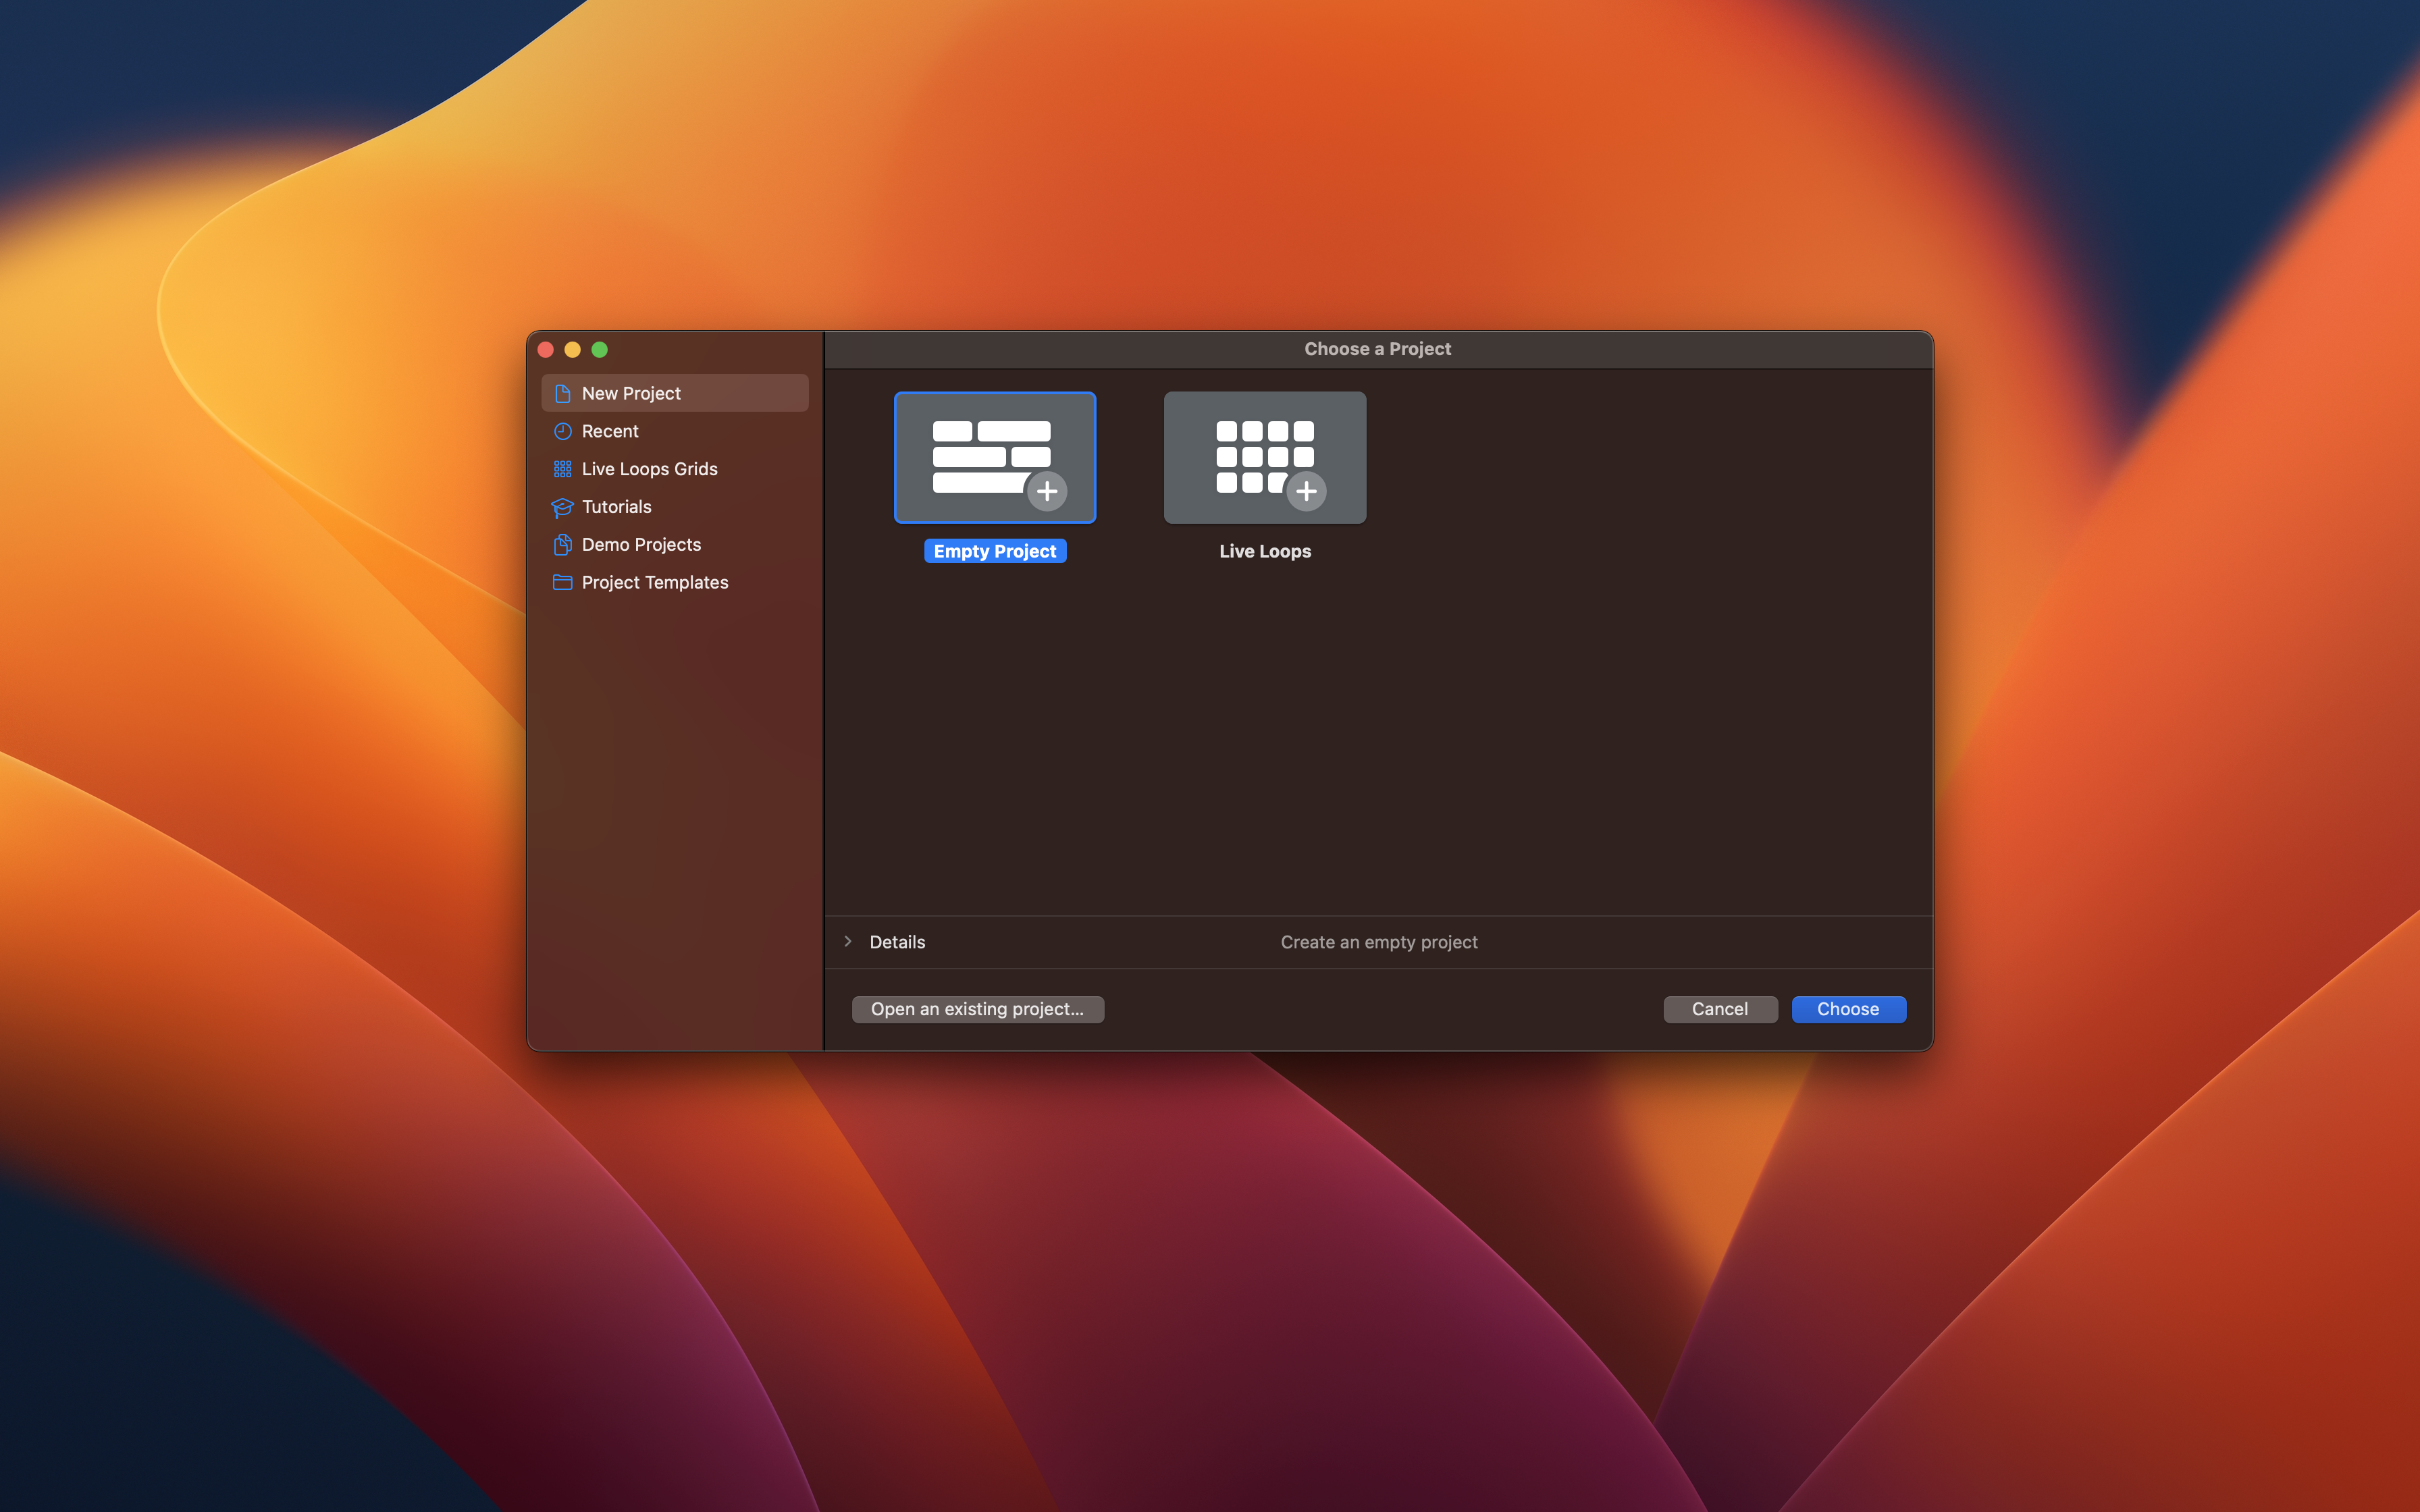
Now the first step is to import tracks into a DAW. Create a new file and name it after the song.
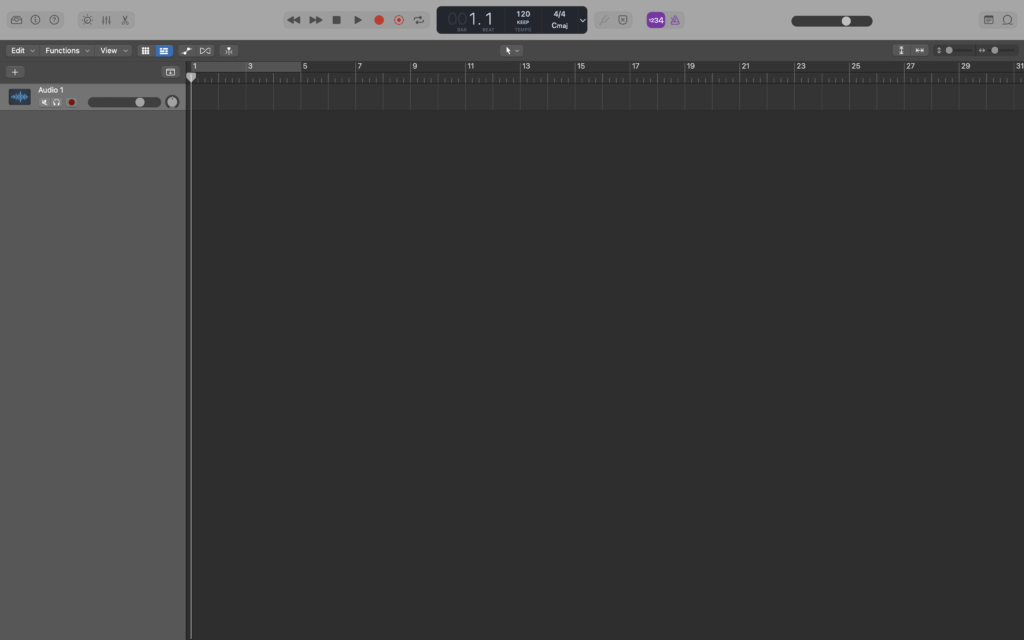
I’d recommended changing the global tempo and time signature to match your song, although it’s not necessary.

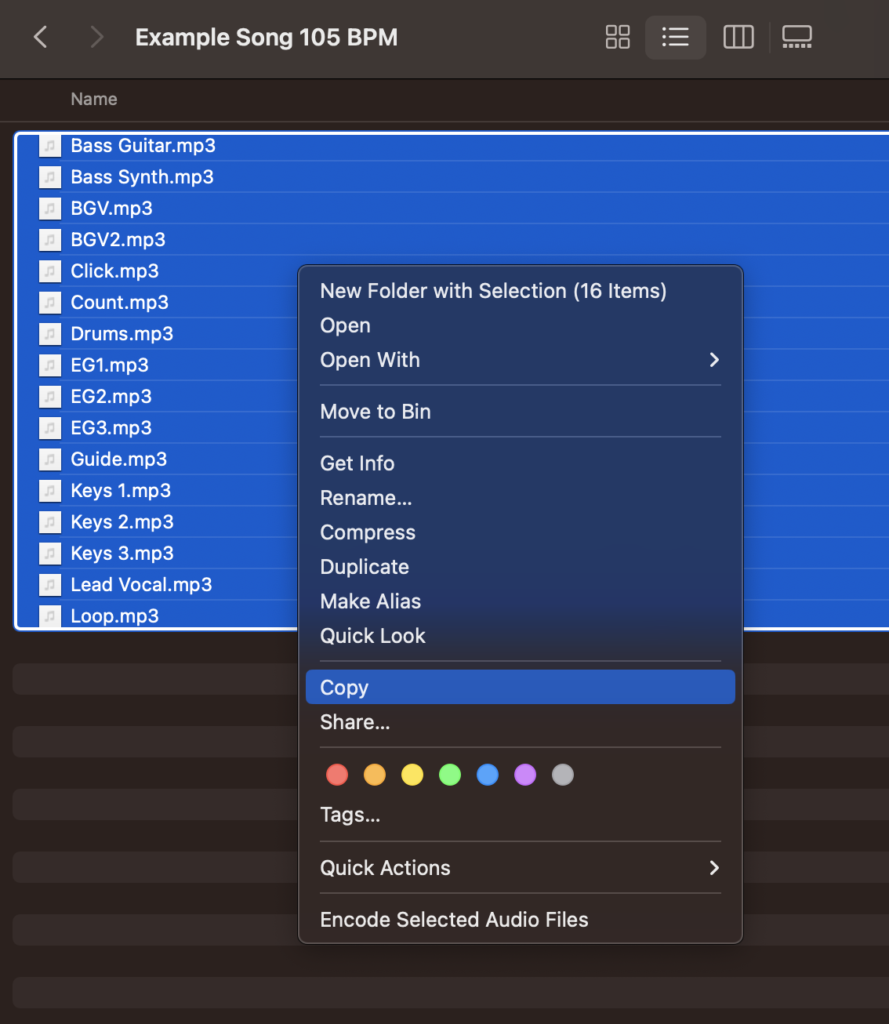
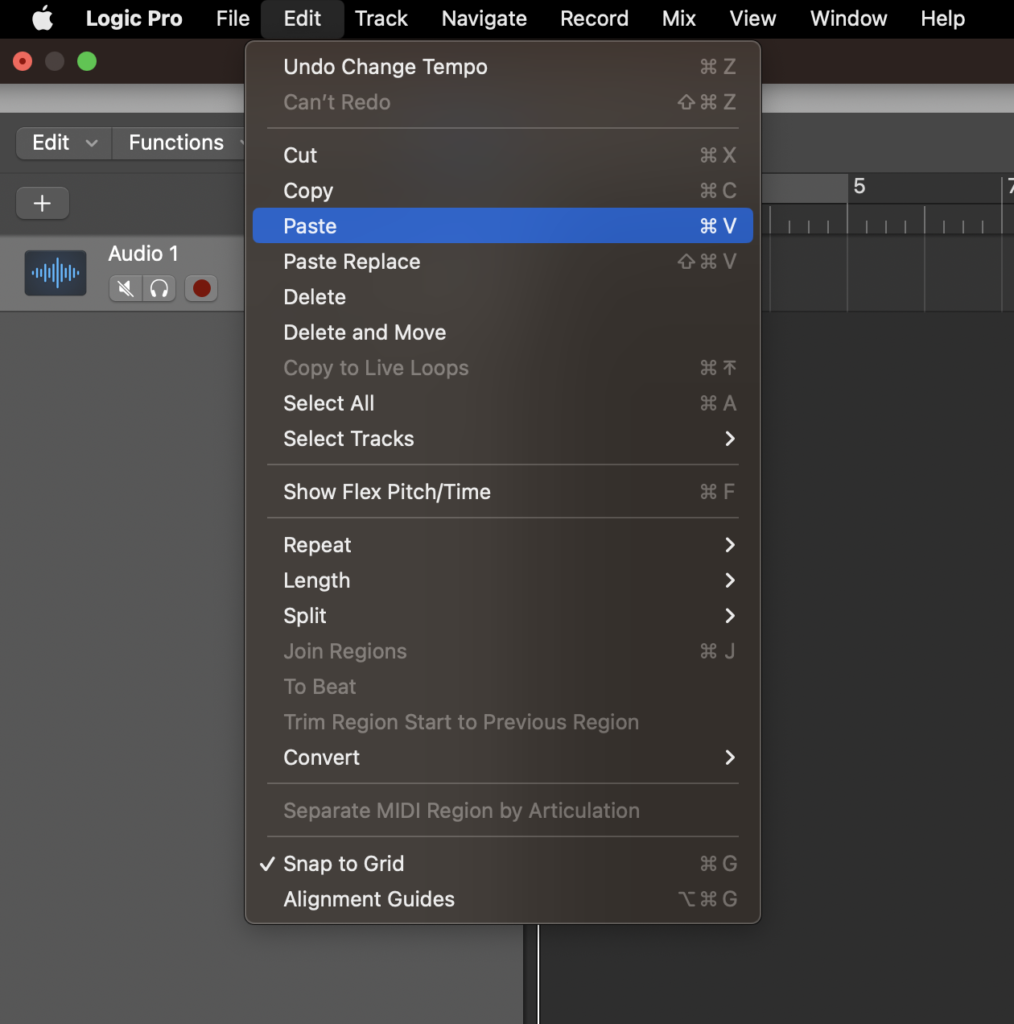
Copy your audio files from your folder and paste them into your DAW.
Logic offers the option to create more audio channels if you’ve not got enough.

However, when adding in new audio channels it left the initial one blank.
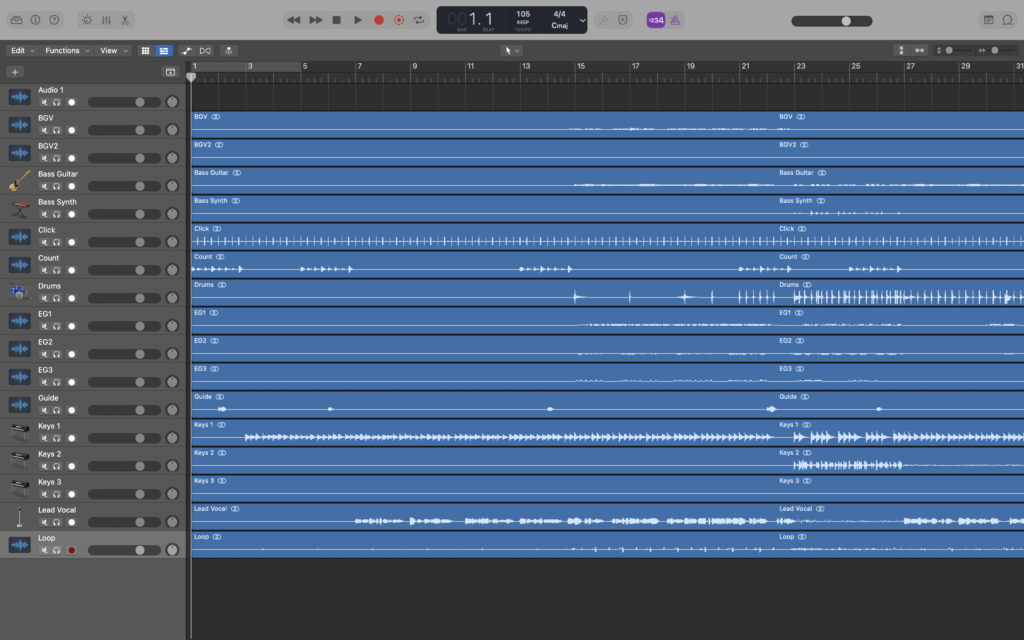
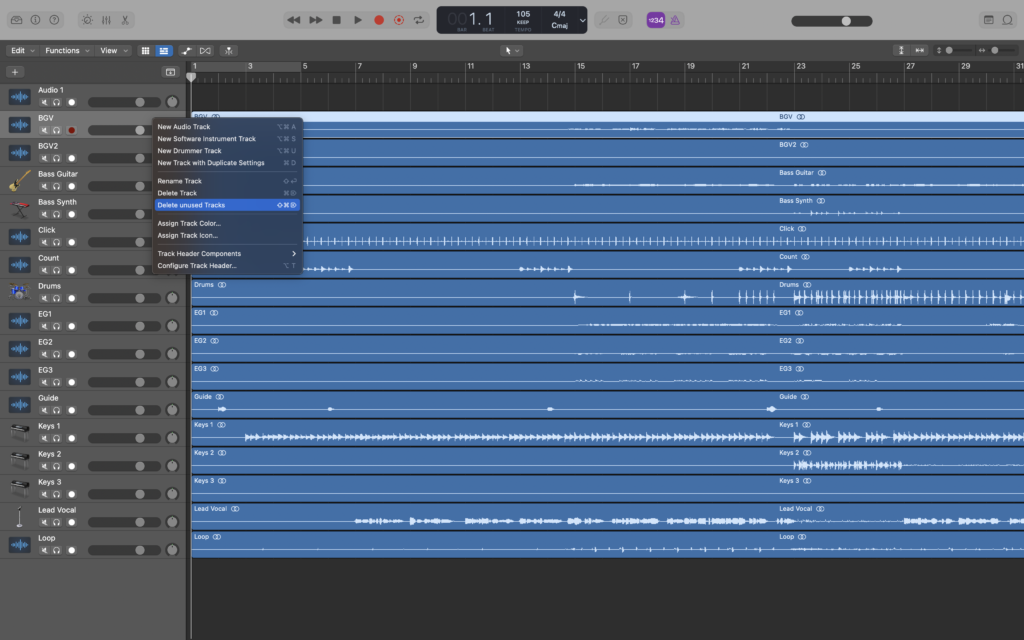
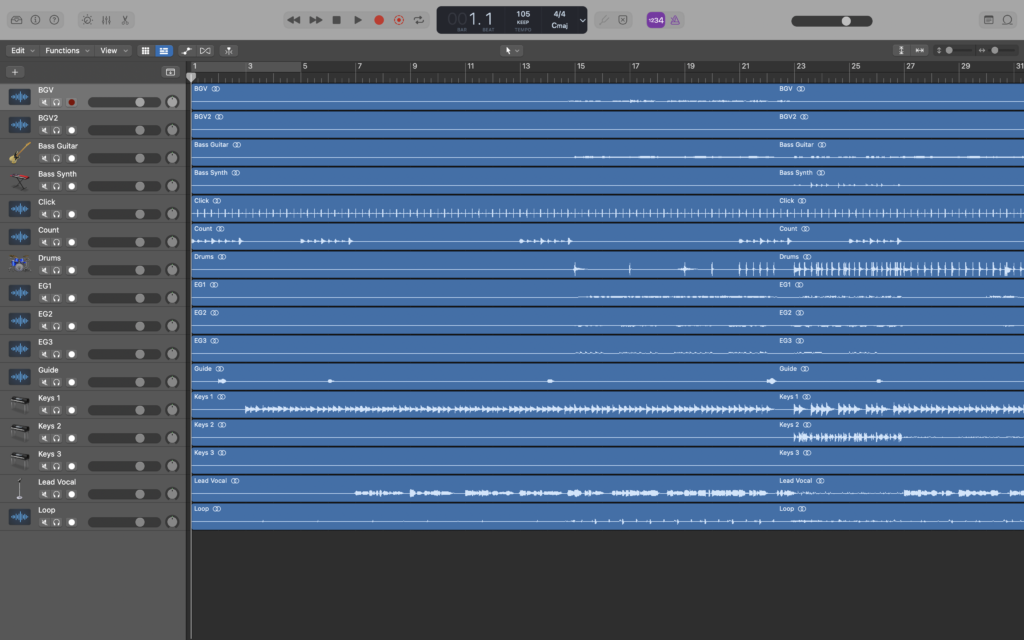
If you find yourself with blank tracks for this reason or maybe because you deleted some tracks you didn’t need, right click on one of the audio channels and click ‘Delete unused Tracks’. This’ll get rid of any blank audio channels.
2. Pan & Mute
Once your tracks are all set up it’s time to pan your tracks left and right. In Logic Pro X, the pan knob is located to the right of the channel fader. Turn left to pan left and turn tight to pan right. Pan everything you don’t want the audience to hear to the left and everything you do want them to hear to the right.
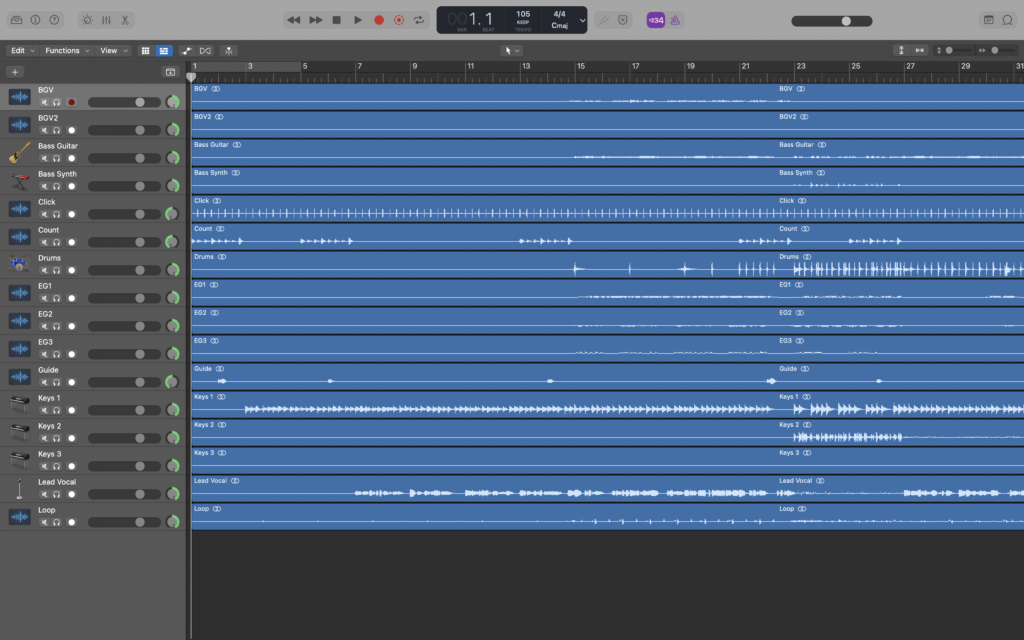
Then, mute all the unwanted channels. For example, if we have a drummer playing live, we don’t need to have the drum track playing as well. (Tip: You may not need many of the stems but we recommend keeping all stems in the file just in case!)
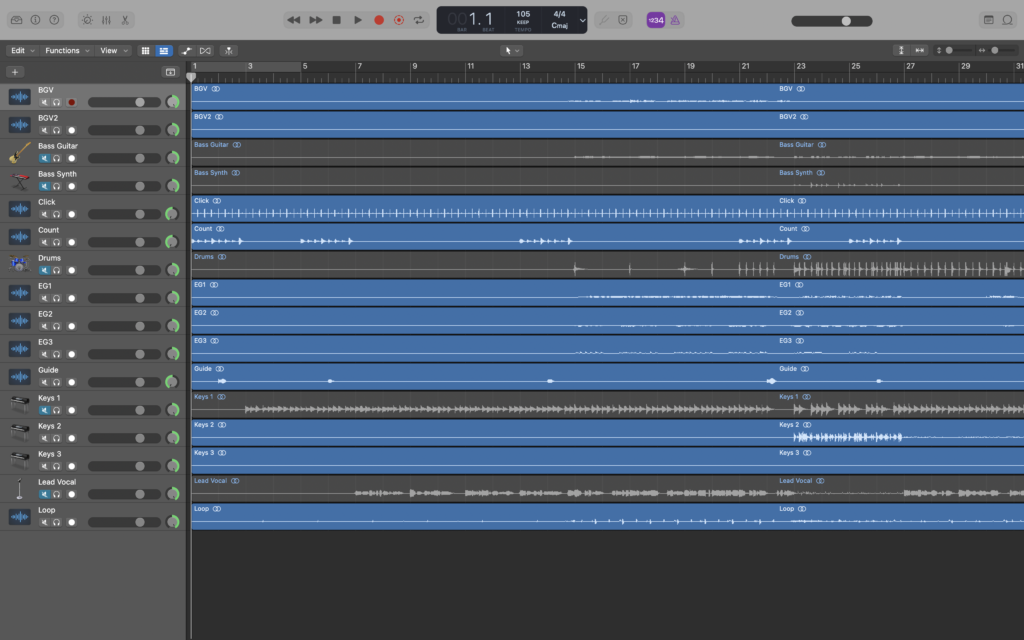
3. Cycle & Bounce
Select the entire range of the song using the cycle brace. You many need to zoom out to be able to drag it to the end of the song.
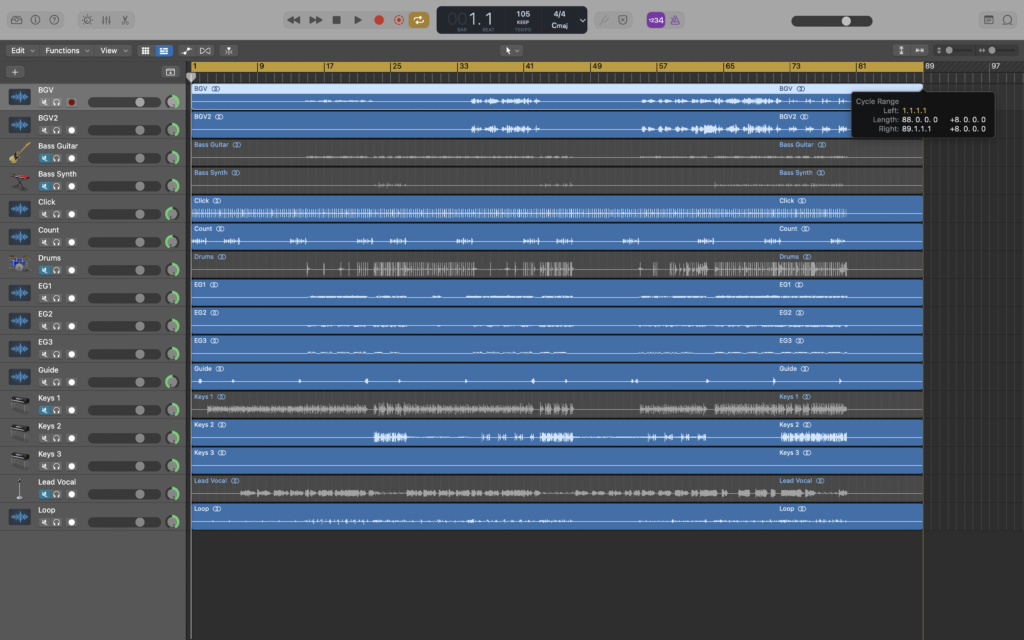
Now, it’s time to export your audio file.

We recommend exporting WAV or AIFF files, they’re bigger but they contain a lot of information and the sound quality is better, but any file format will be fine as long as it’s recognised by your preferred media player.

4. Prepare & Perform
The last step is to add your songs to your media player of choice. In this stage you can build your setlist by compiling the different tracks you’ve exported into a playlist.
Some Final Tips
- Be consistent with how you pan your tracks and make sure the sound engineer is aware of your setup.
- You can set the click track to run longer than the rest of the stems in case of an encore or spontaneous moments.
- Songs that transition into one another can be bounced out together as one track.
- If you’re only using clicks, cues and guides, no need to worry about panning.
- Have multiple versions of songs, particularly ones that include the instruments you need, in case of an emergency.
- Buy a good aux lead or aux to LR jack lead and label them!
- Practice this setup before taking it to the stage.
- Find creative solutions for transitions between songs. If your media player can only play, stop, skip back and skip forward, consider having blank audio tracks in between songs to give yourself time to stop the playlist before the next song starts.
- You cannot jump to different sections of the song, once the track starts you have to be ready so be sure to rehearse to them!
Thanks for reading!
Leave a Reply